Restoring fog lights the Chris way
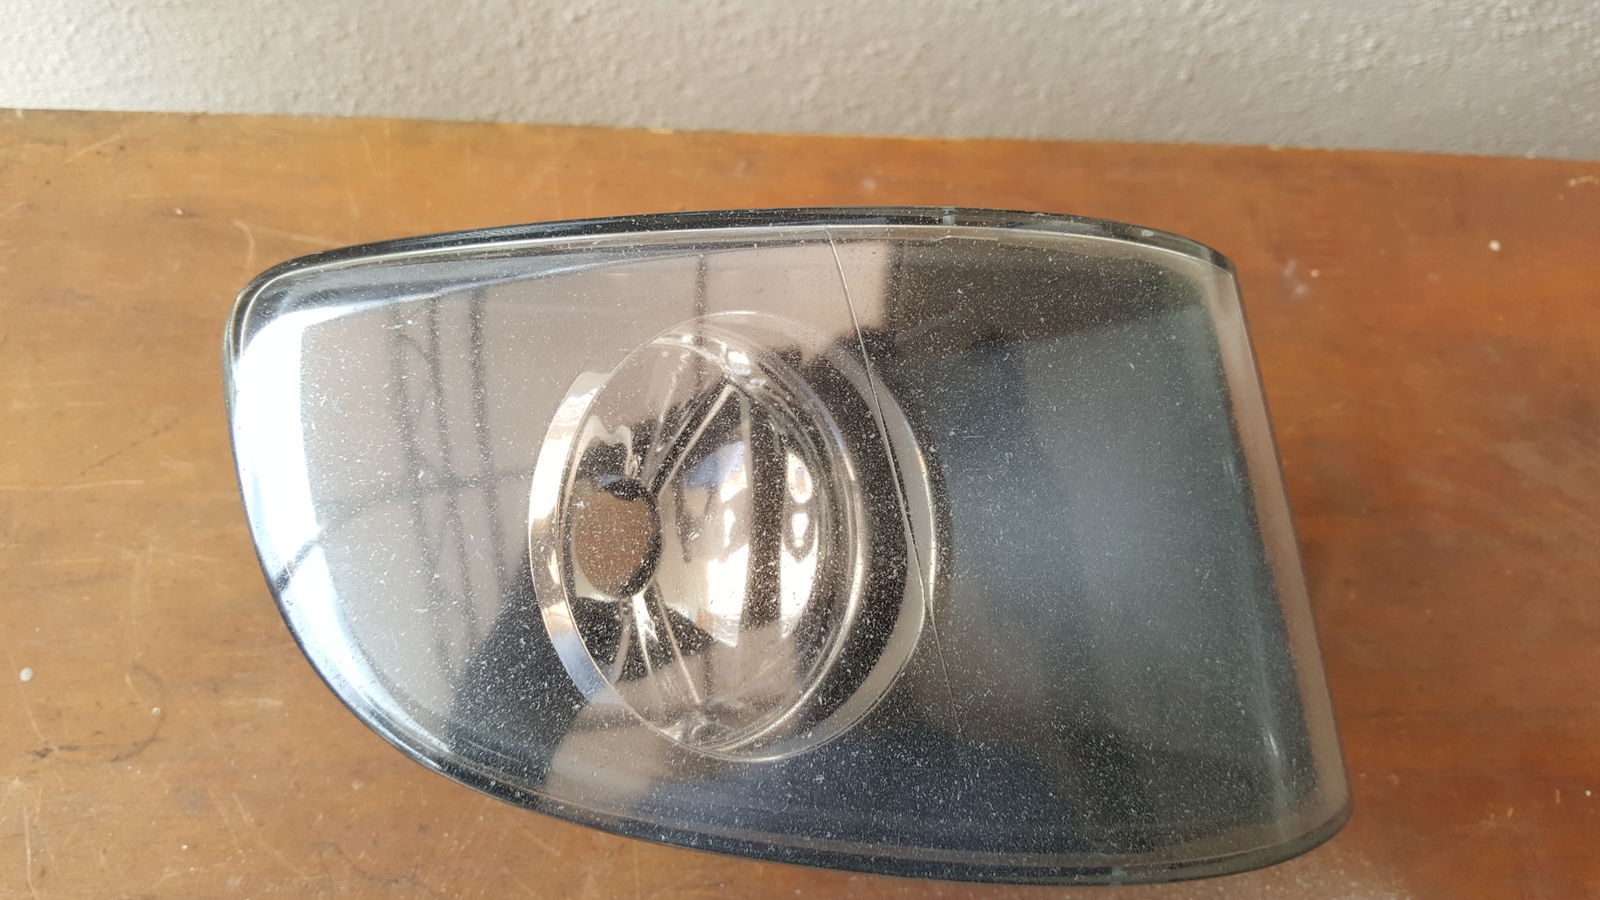
This car is now eight years old and i have done my best to keep it in good nick. But alas the fog lights being as low to the ground as they are, ended up pitted and looking sorry. So i decided to follow the guide made by @ChrisFix on how to restore your headlights permanently.
This car is now eight years old and i have done my best to keep it in good nick. But alas the fog lights being as low to the ground as they are, ended up pitted and looking sorry. So i decided to follow the guide made by @ChrisFix on how to restore your headlights permanently.
Things you will need
- 400, 600 and 2000 grit sandpaper
- Clear coat paint
- Tools needed to remove fog light
(I ended up not using 400 grit sandpaper as my fog lights weren’t too pitted but if yours is worse you might want to start there)
The Process
After struggling to get both fog lights out, i could finally start with the sanding.

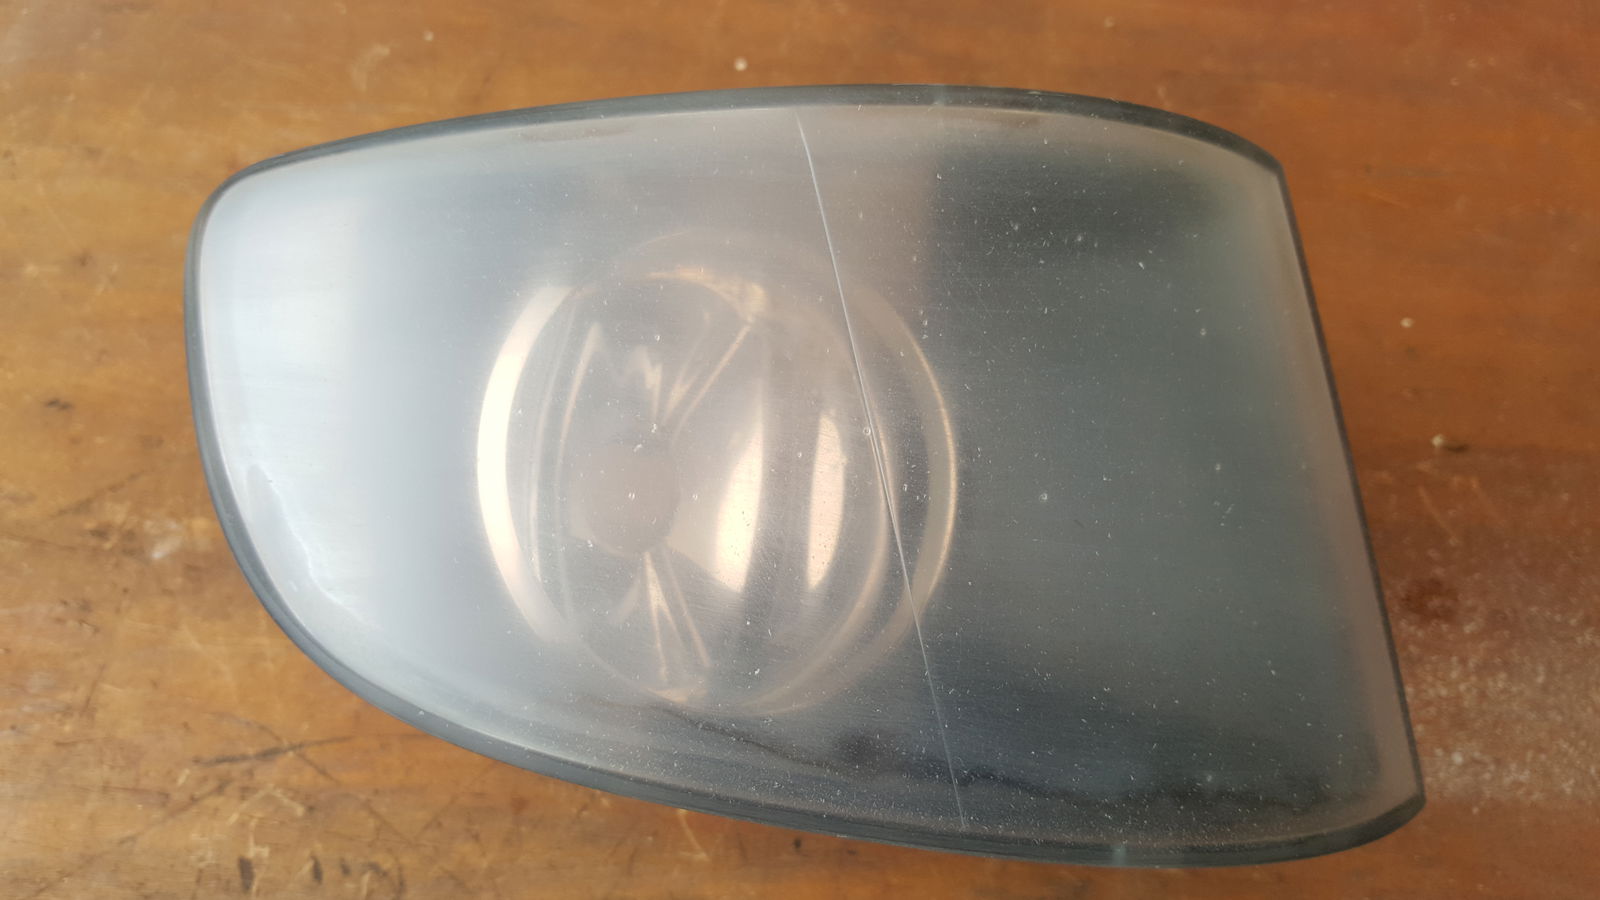
As per Chris’s guide, I started sanding with the 600 grit sandpaper in a swirling motion and then after all the pitting was gone, i sanded in a straight horizontal line to give the paint an edge to adhere to. After doing so, i repeated the process with the 2000 grit sandpaper until the lens was nice and smooth.

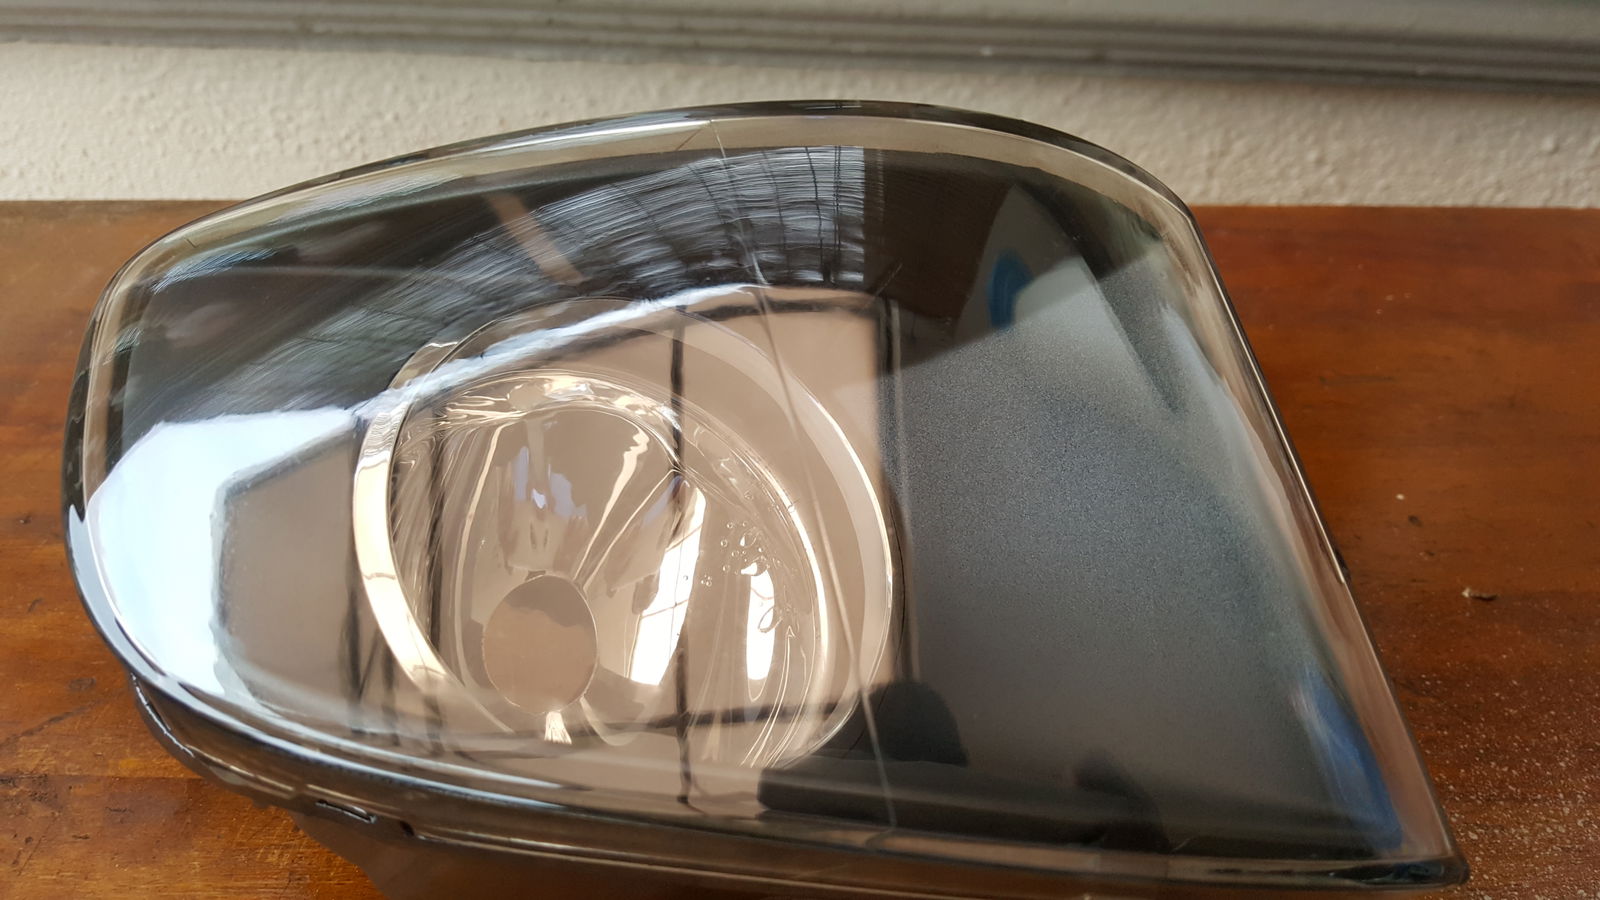
Once both lights were prepped, in Chris’s video he recommends that you use isopropyl alcohol to clean the lens and to help dry it off. But i didnt have any on hand so some soapy water and a microfiber cloth did the trick for me. One that was done, it was time for my favorite part, painting. I started with a light coat. It had some visible orange peel but i let it dry for 5 minutes before adding another coat and repeating the process until i had done 6 coats of clear coat. Once it all dried, it looked amazing!

This picture was prior to waxing and just goes to show the effectiveness of this method. Once the paint dried, i just reinstalled it back onto the car and cracked open a can of beer in celebration. 😂

Comments
ChrisFix Thanks for the guide m8!
Awesome guide, will try on mine!
ChrisFix
What is that crack or scratch?
@ChrisFix
This would work on headlamps as well, correct? (plastic)
I always use a little bit of atf on a shop towel. Just kind of hand buff it. I made some pretty bad ones look brand new.
What about the turn signal?
Before and after pics on the car?
Looks great! I think I’ll have to try this on my headlights! Thanks for the instructions!
Pagination