Vincent: Mk1 Mazda MX5 Hillclimb Build
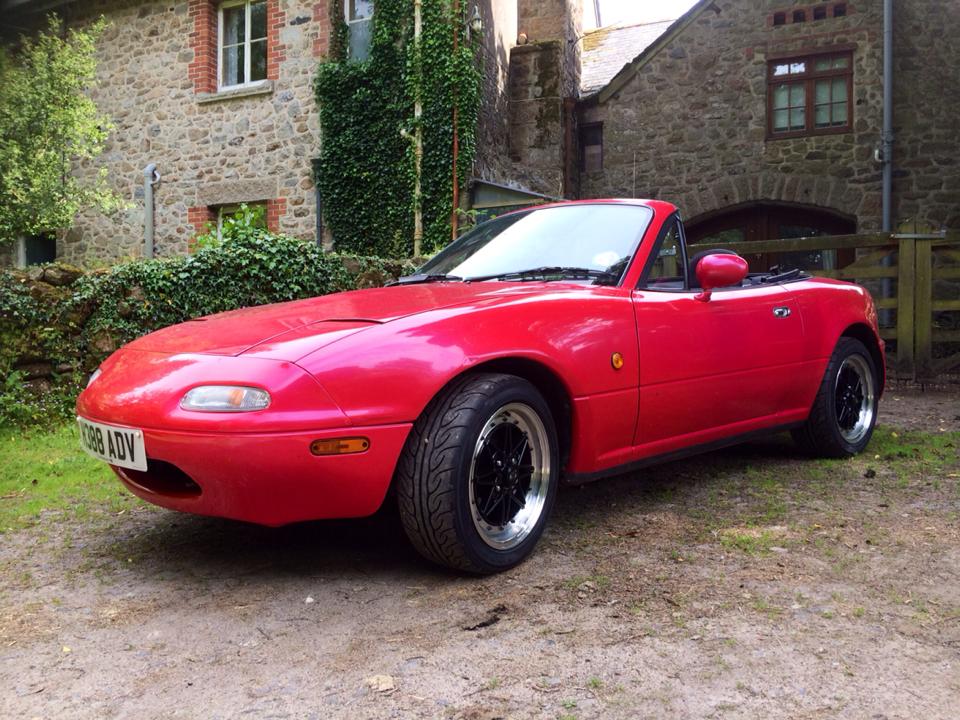
Okay, So I have had many Mazda MX5s over the years, but I decided that after landing my hands on an almost stock mk1 I would rebuild him to MSA Hillclimb spec to race in 2016. This is where my journey started:
Okay, So I have had many Mazda MX5s over the years, but I decided that after landing my hands on an almost stock mk1 I would rebuild him to MSA Hillclimb spec to race in 2016. This is where my journey started:
How he started

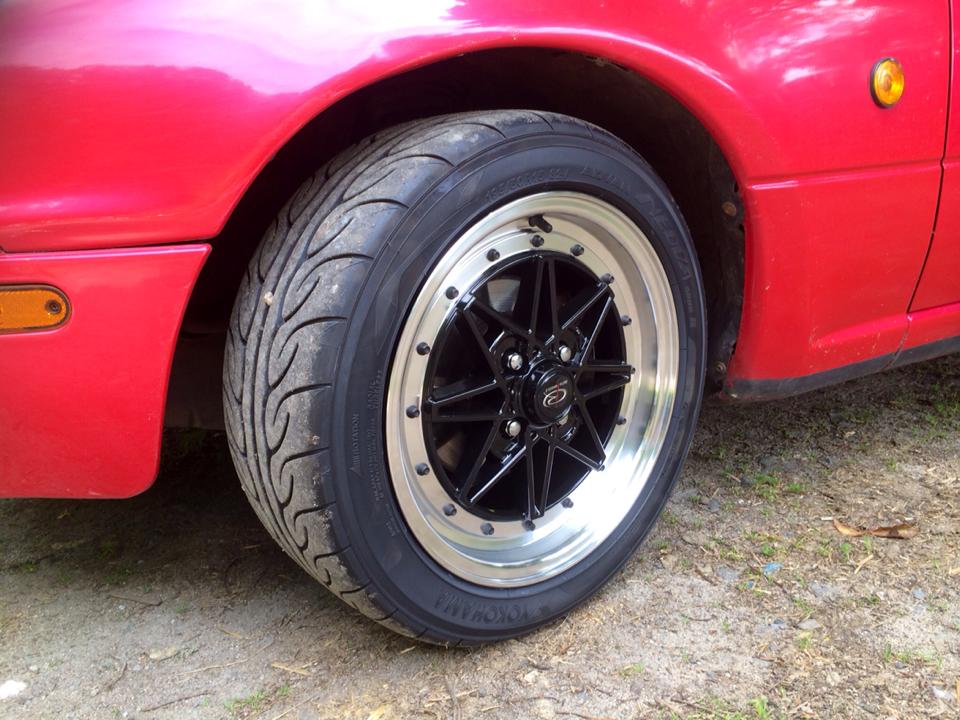
Step one HAD to be to get rid of those god awful wheels and get some decent rubber on him. I spent about 4 weeks deciding on wheels, as you can imagine, and finally landed on a set of Rota Flashbacks. They may not be the best in town, but they were the ones that I set my heart on and what a difference they made!
Rota Flashbacks
Yokohama AD08 rubber
So it was important to me to do this properly, no cutting corners and no cheap mods. Everything had to serve a purpose. As he stood, he handled, well, like a 25 year old MX5 that had been severely neglected. I enlisted the help of a good friend of mine (who currently Hillclimbs in a 2CV, a very, very fast one) who became head of research and mechanics! We wanted to stiffen the ride, get the most out of the little 1.6 engine and essentially make a badass race car for Hillclimbing. Being in the roadgoing class however, there are strict limits as to what is allowed to be modified so whilst research was being done, the first logical step seemed to be…. Rollbar. Safety first, kids.
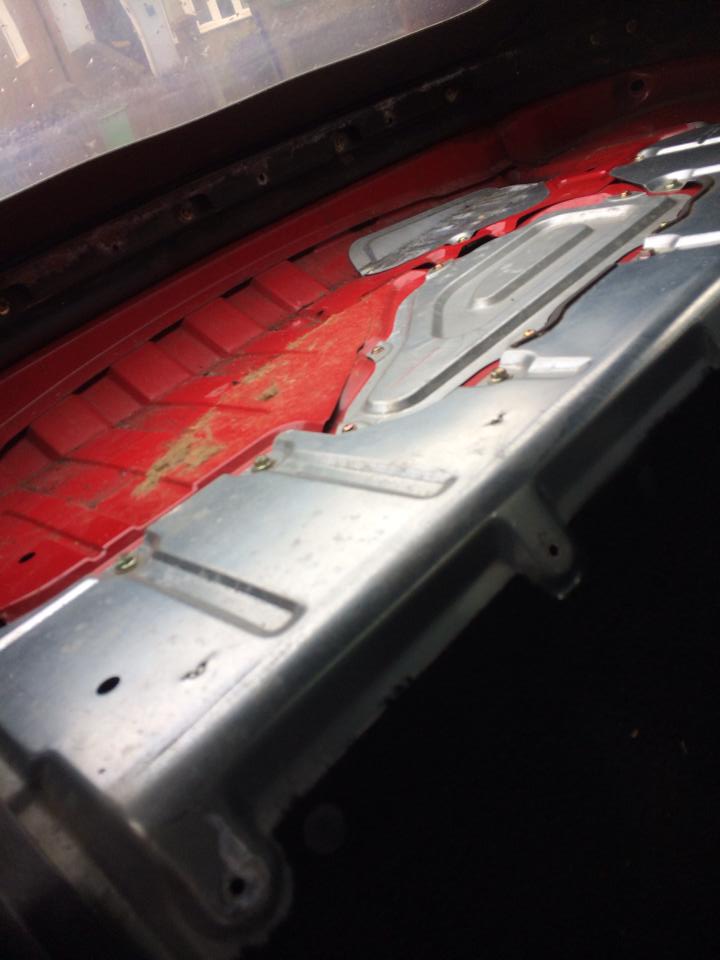
TR Lane cage.
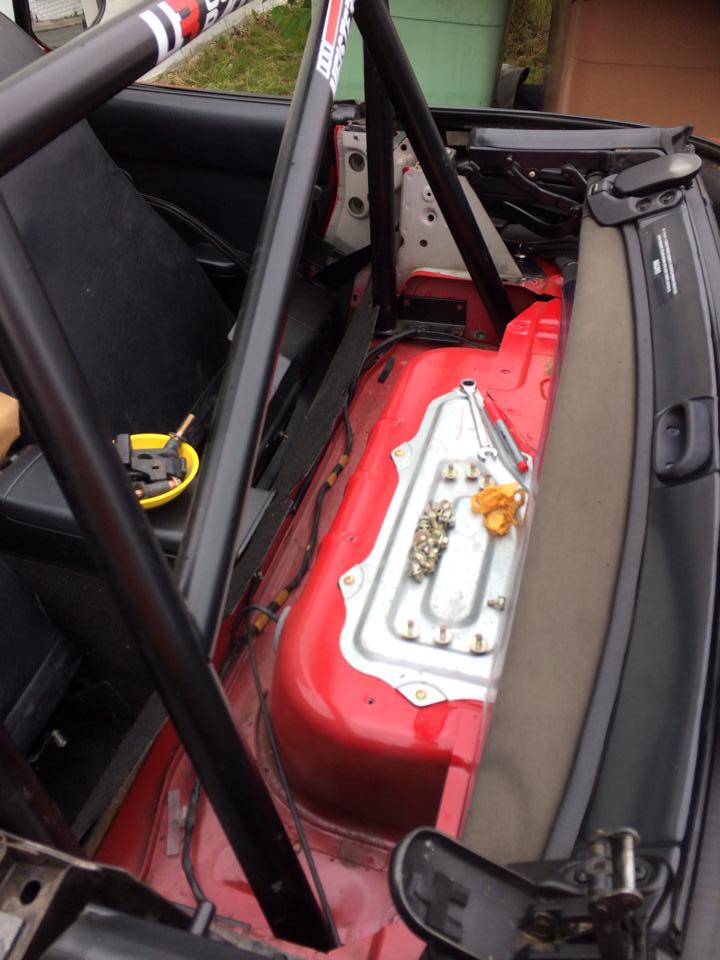
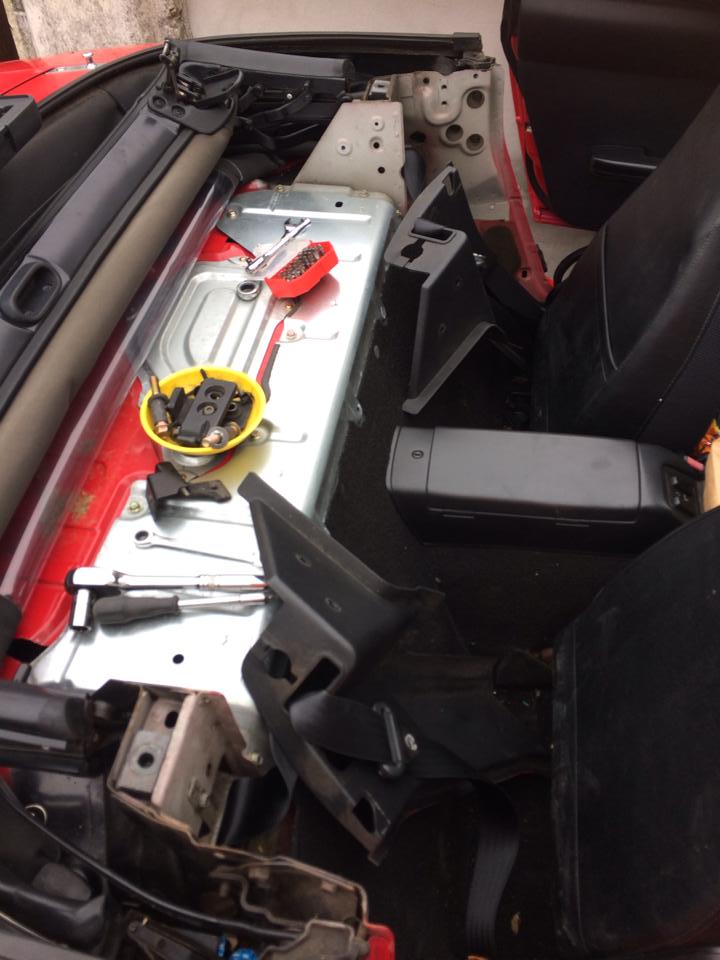
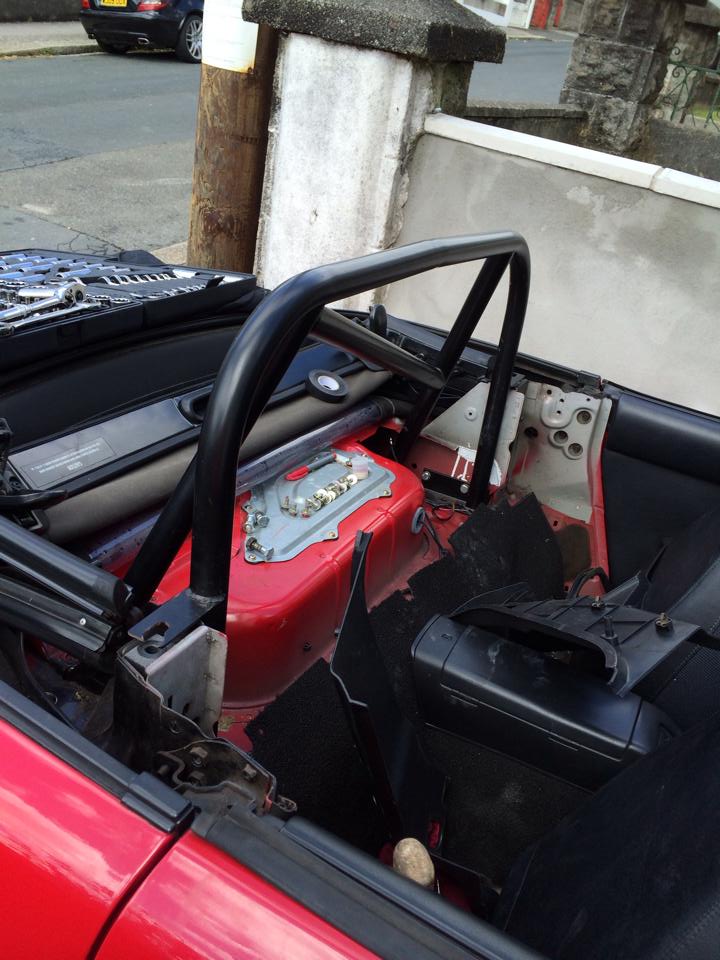
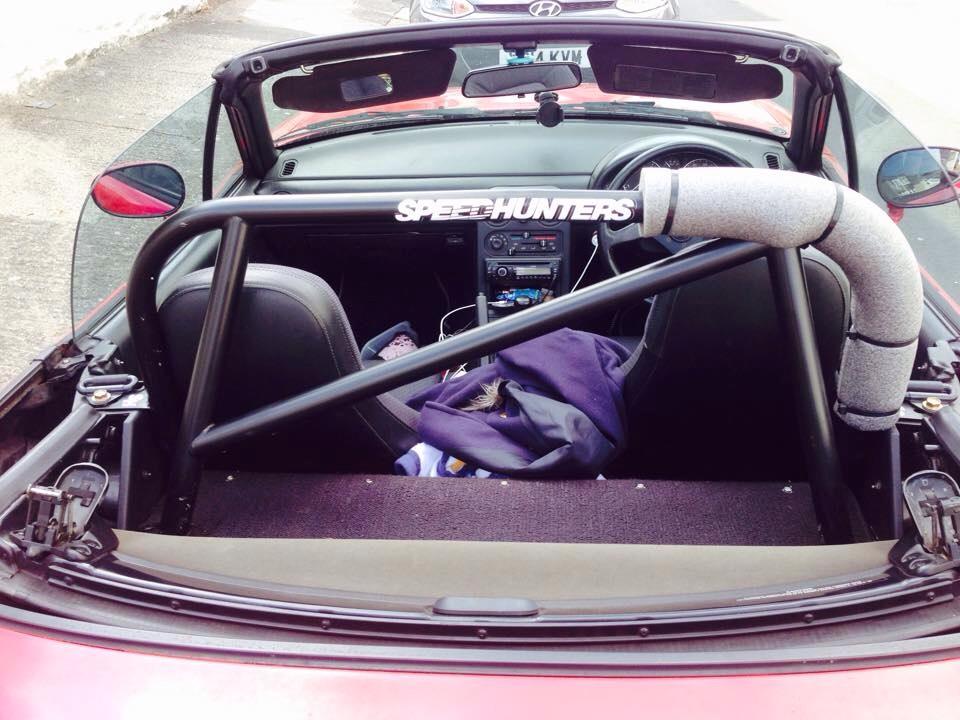
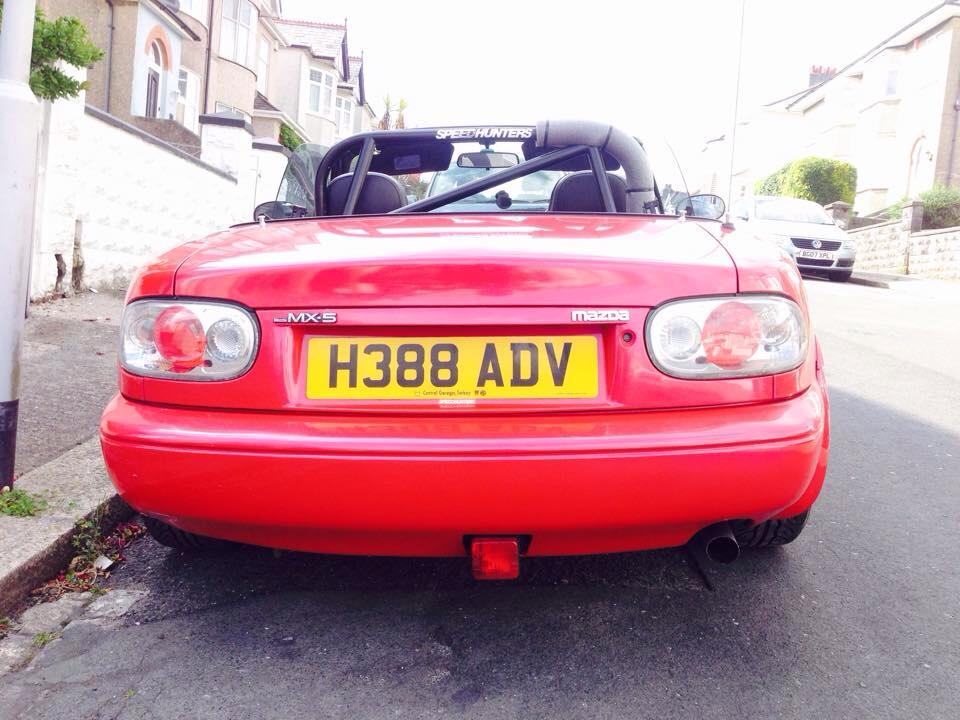
Now, this “takes under two hours to fit” nonsense…. Lies. This was spread out over two days. However, that was in part due to forgetting how to put the seatbelt stack back together and misplacing several key components. Ooops. You live and learn. Reasons for cage: not only could this save my life, it stiffened him up, and looks badass.
Now, you may be looking at those crystal lights. Rest assured, they went. Swapped out for a set of stock lights from a fellow MX5 fan in Plymouth who unfortunately had had an argument with a wall in his limited edition. At least they went to a good cause.
New lights

Mmm, so shiny!
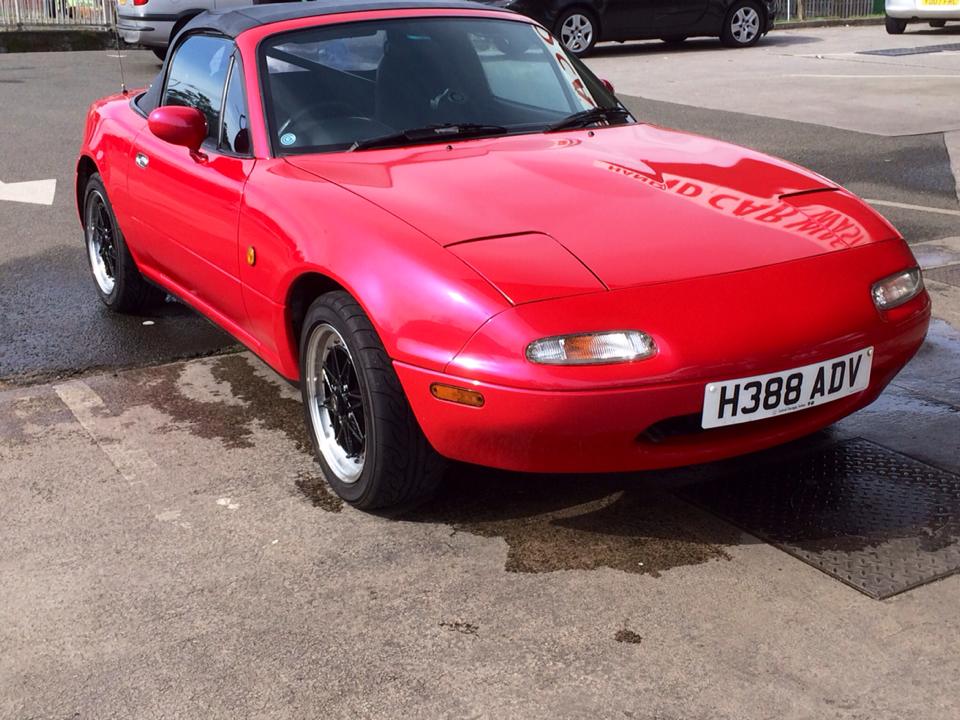
So, as he was coming along nicely, I decided to treat him to a machine polish to try and brighten up the tired old (pearlescent) paint. My local hand car wash guys took such a liking to him, they not only did it for free, they spent more care cleaning and polishing Vincent than I admit I would have taken myself. Big up to St Budeaux car wash!

Because everyone knows that stickers add horsepower. We went for Speedhunters. The hunt for speed continues…
So with my mechanically-minded friend slaving away researching, I managed to get myself 3 weeks of extra shifts and ended up with a big cash injection to the Race Car Fund (affording to eat is overrated). So, I went shopping.
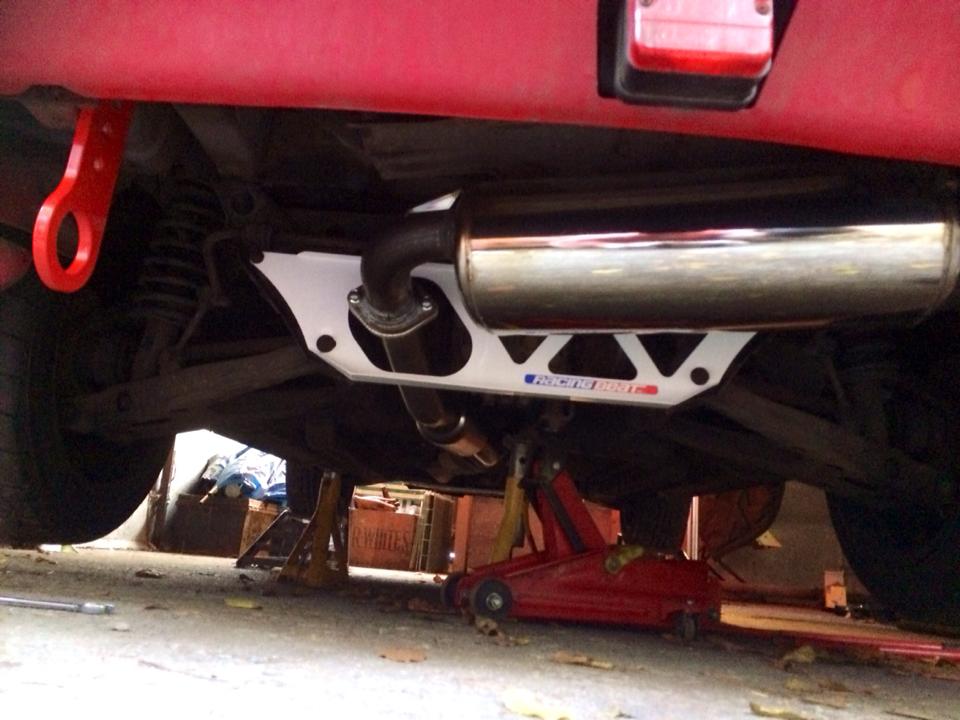
Racing Beat Power Pulse silencer
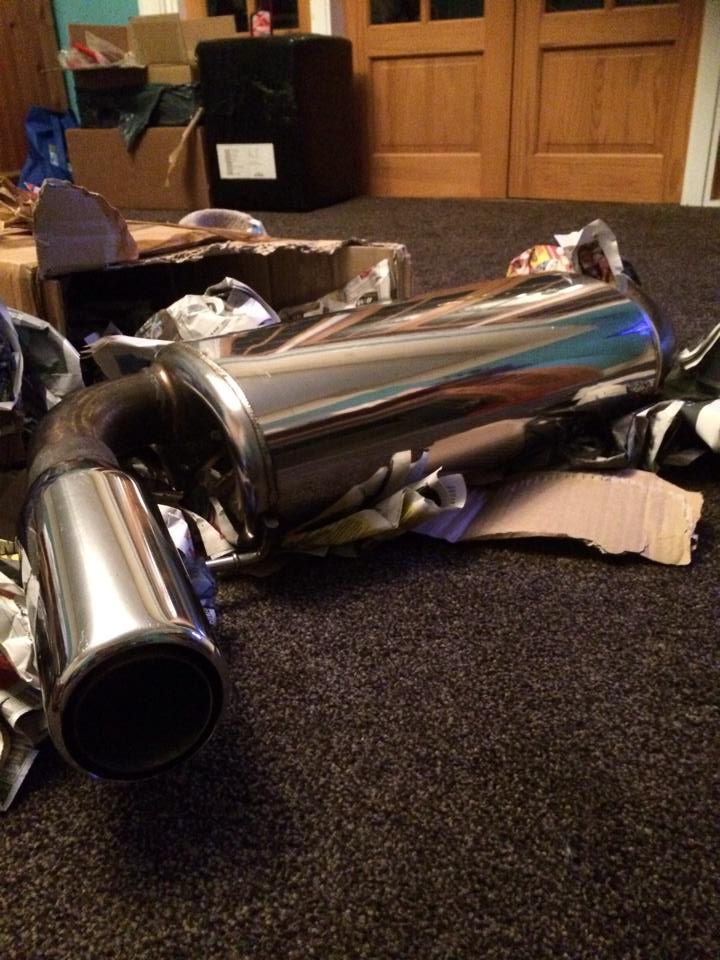
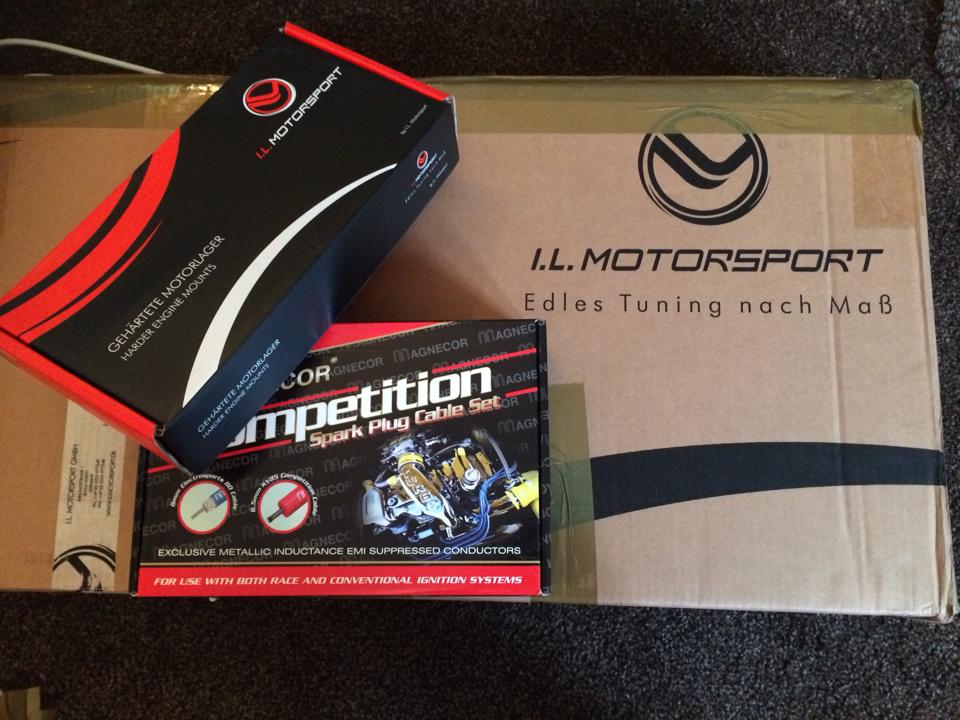
I.L Motorsport Front Splitter, 50% stiffer I.L engine mounts, Magnecor competition leads and sparks. In red, of course, because Vincent is a tart.
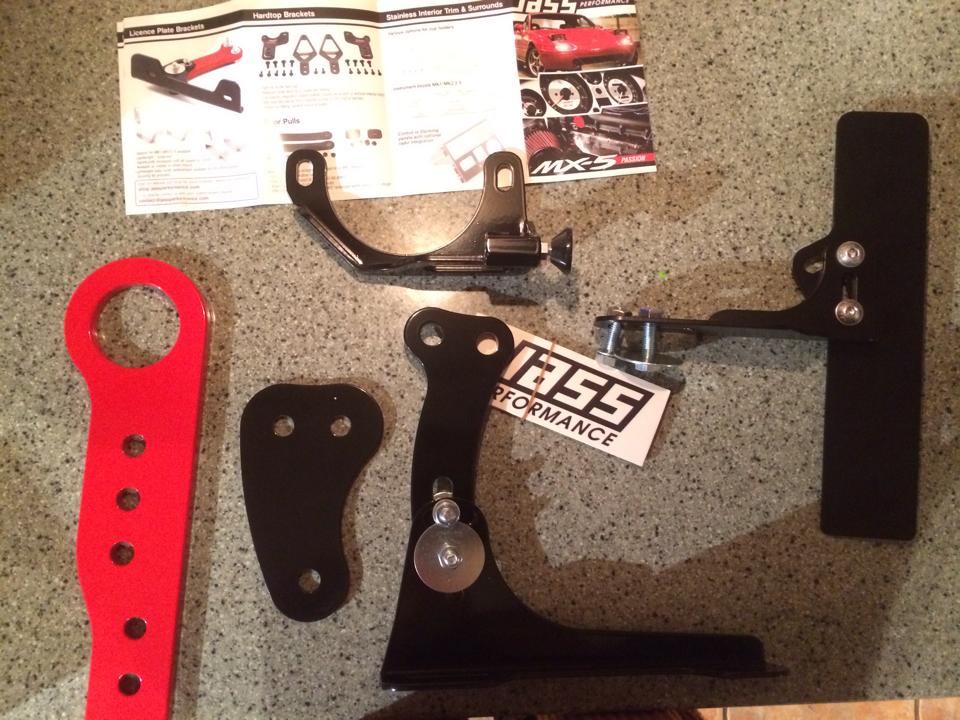
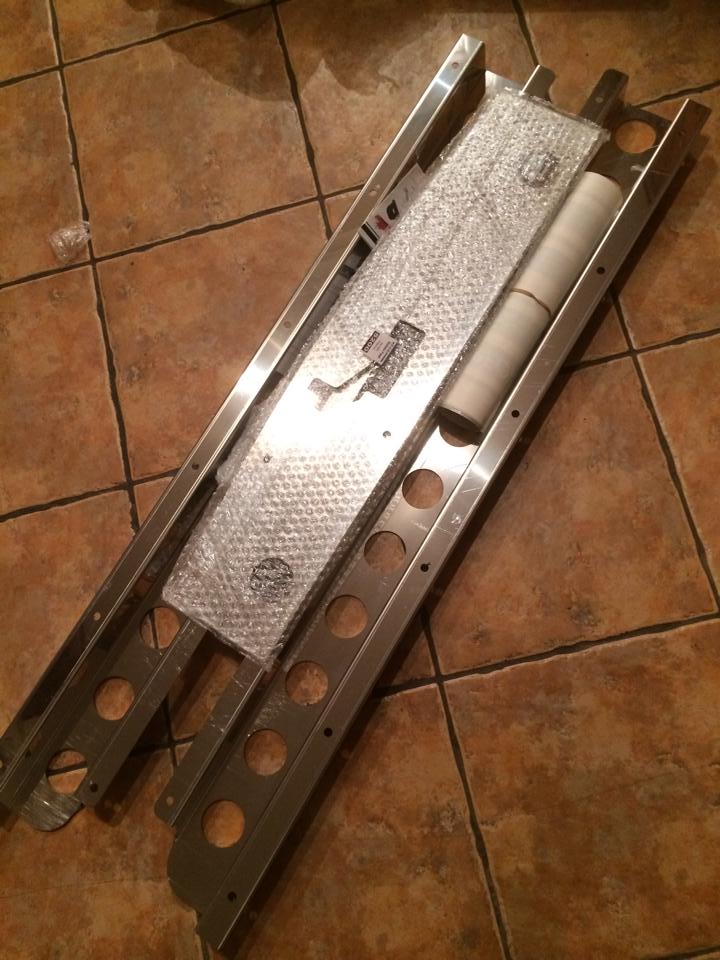
Now these were a result of a thread I had on MX5 Nutz, written by Fritz (my mechanically-minded helper) that was spotted by Vlad at Jass Performance. Vlad got in touch and heroically offered to help us out with the build. Thank you Vlad at Jass!
What we have here from Jass: Timing strut interchangeable with offset numberplate bracket, Master cylinder brace, rear tow bracket and front tow strap bracket, and finally a set of stainless chassis stiffening rails.
What arrived next? Ahhh.. The Jackson Racing cold air intake. The only intake to actually take cool air in, and not sit directly above the manifold.
So we got to work.
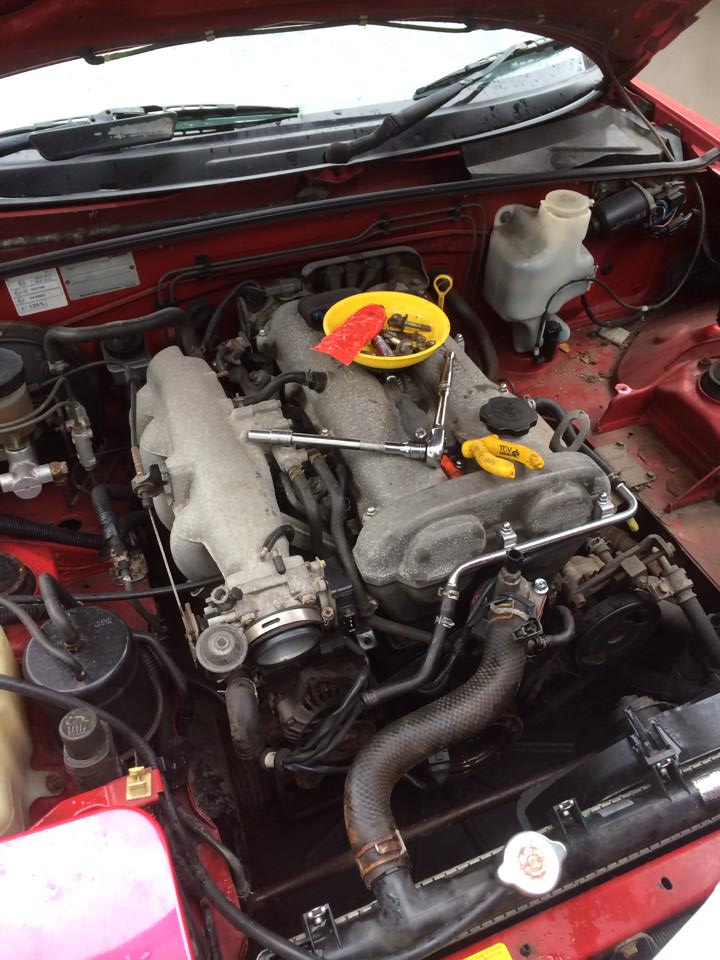
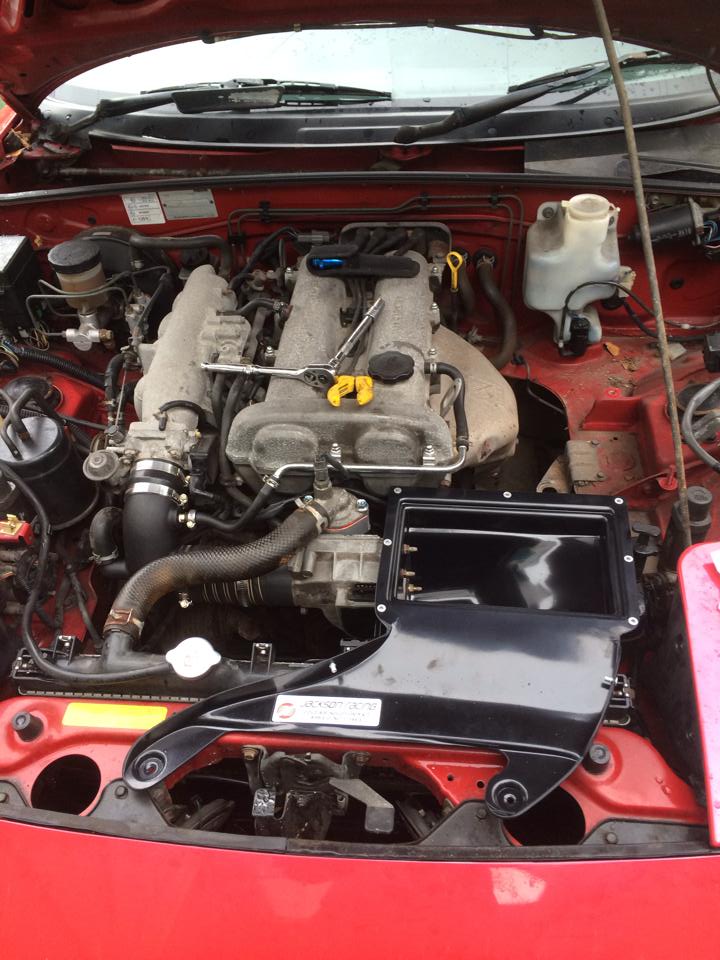
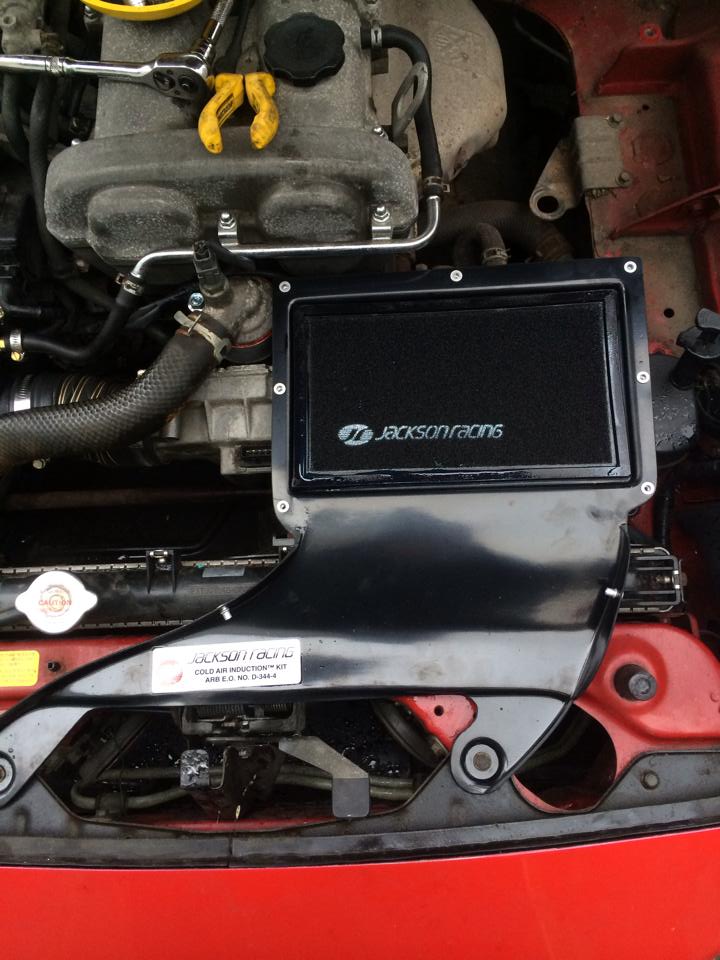
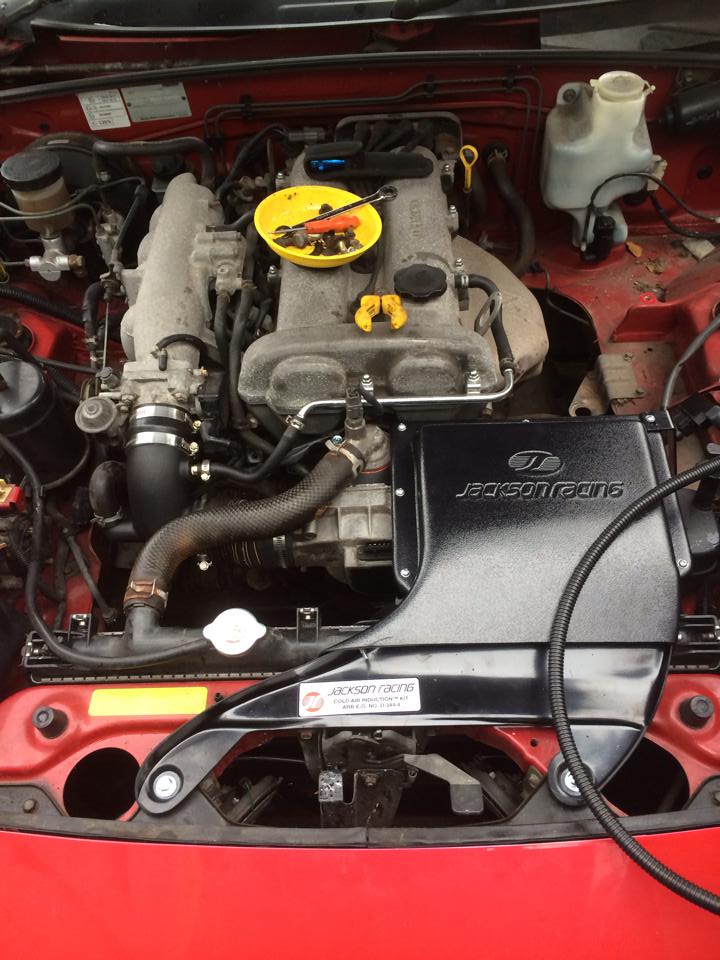
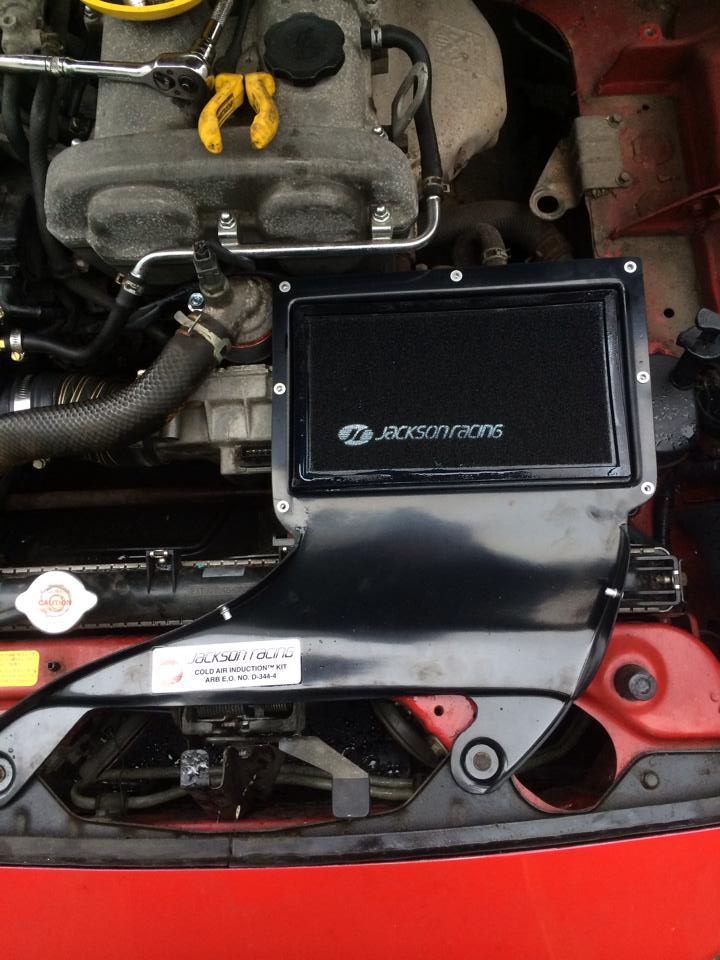
Look at all that free space in there now!
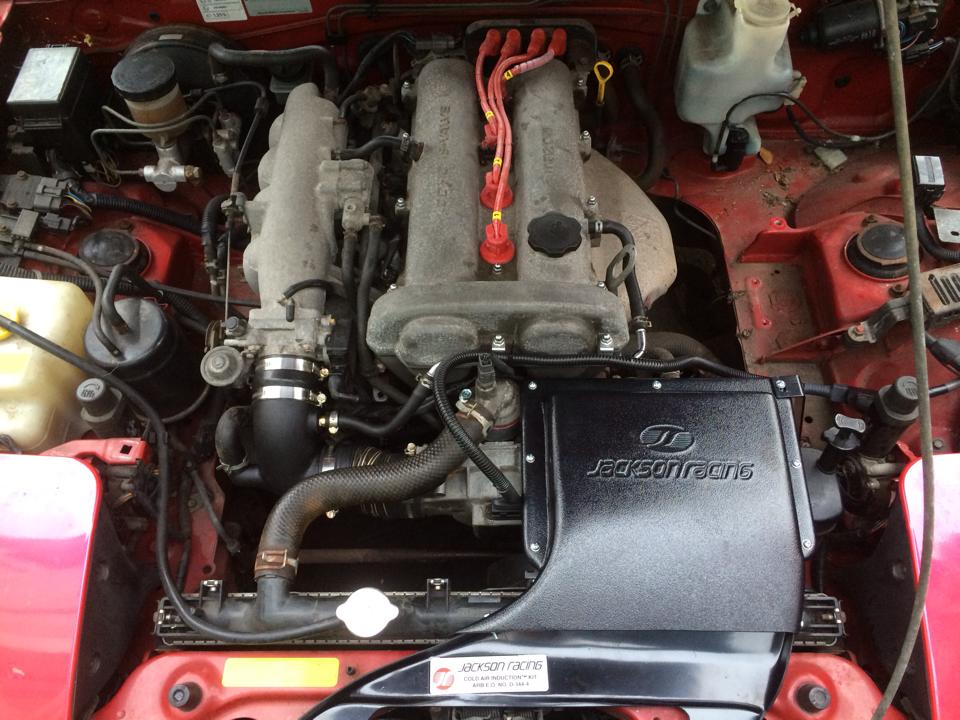
Review: really simple to fit, supplied with loom extension, works a charm. You can certainly feel the difference!
So, now I had a whole load of shiny new parts to fit, but no adequate space to fit them, so I packed my mechanical helper, tools and parts into his van and set off to Granny’s house…
Fortunately, my grandmother didn’t bat an eyelid and simply handed over the keys to her double garage and supplied tea and snacks for two days. We were on a time limit as we were trying to fit as much as we could before heading to southampton to Dr MX5 and The Welding Corner to have some much needed welding! So we worked late into the night in our countryside racecar worshop…
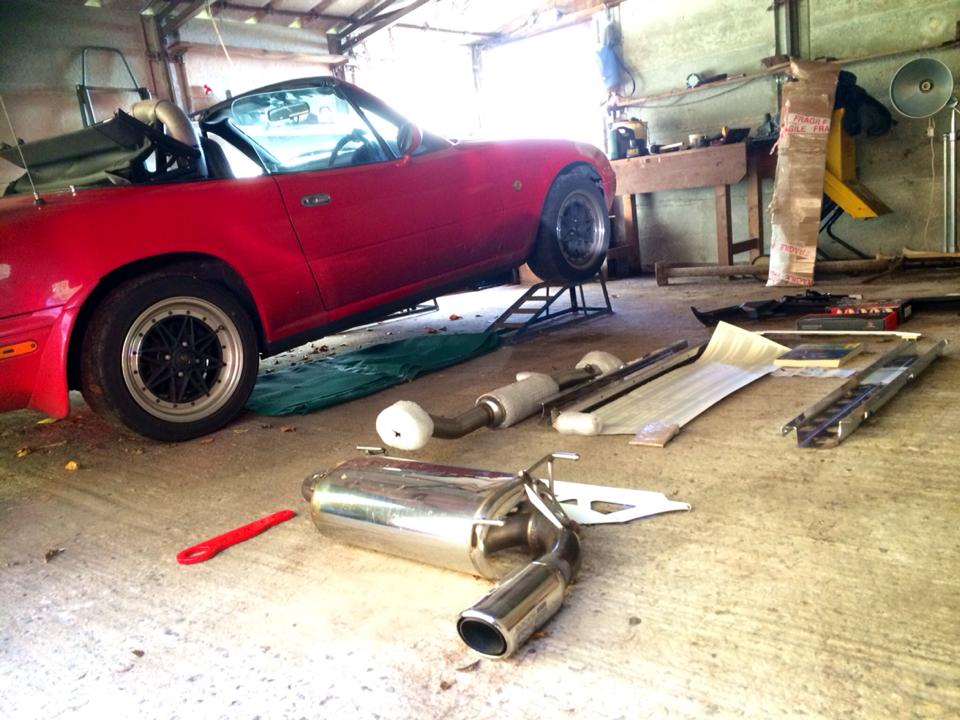
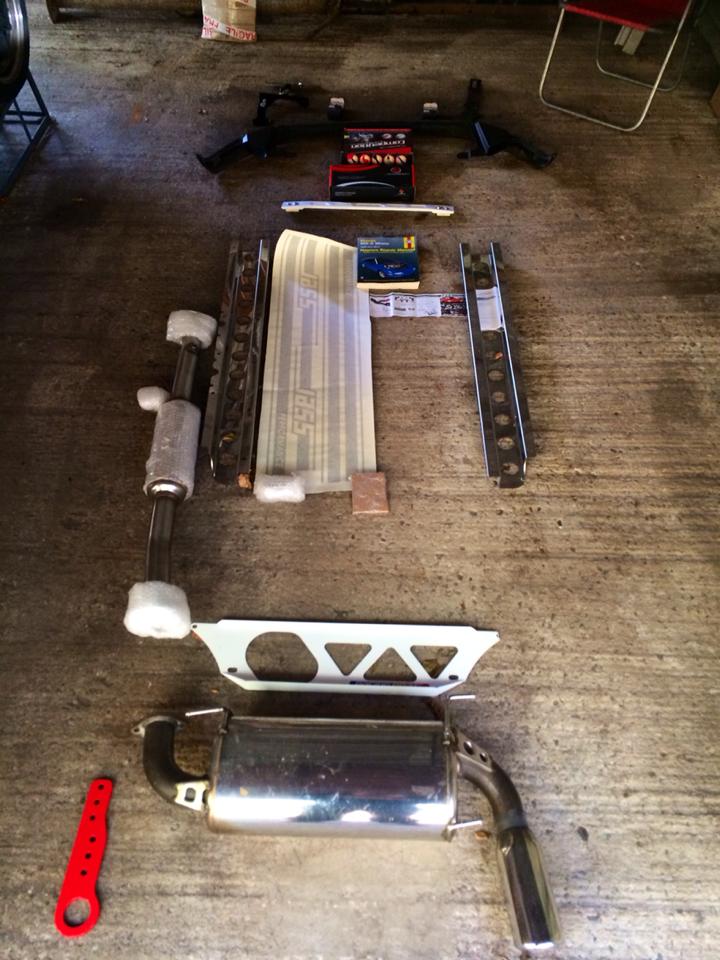
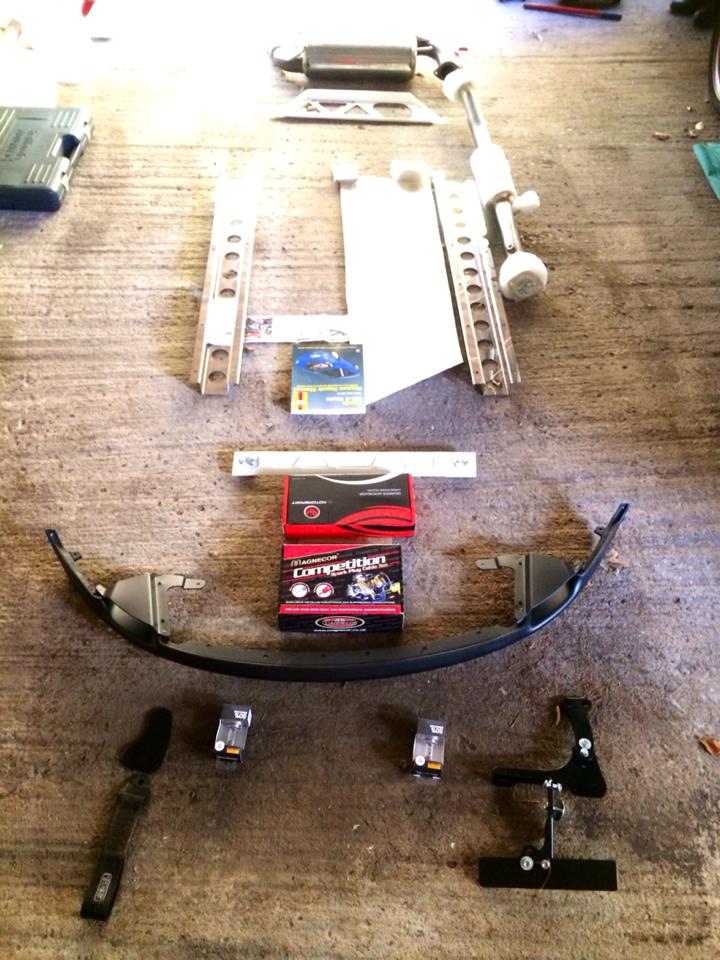
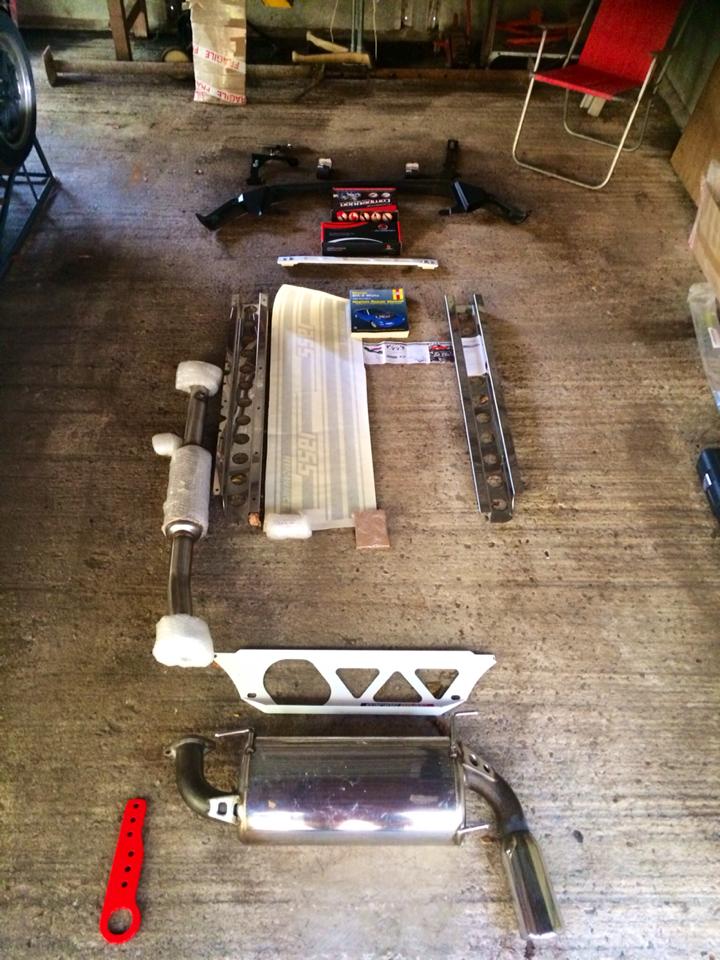
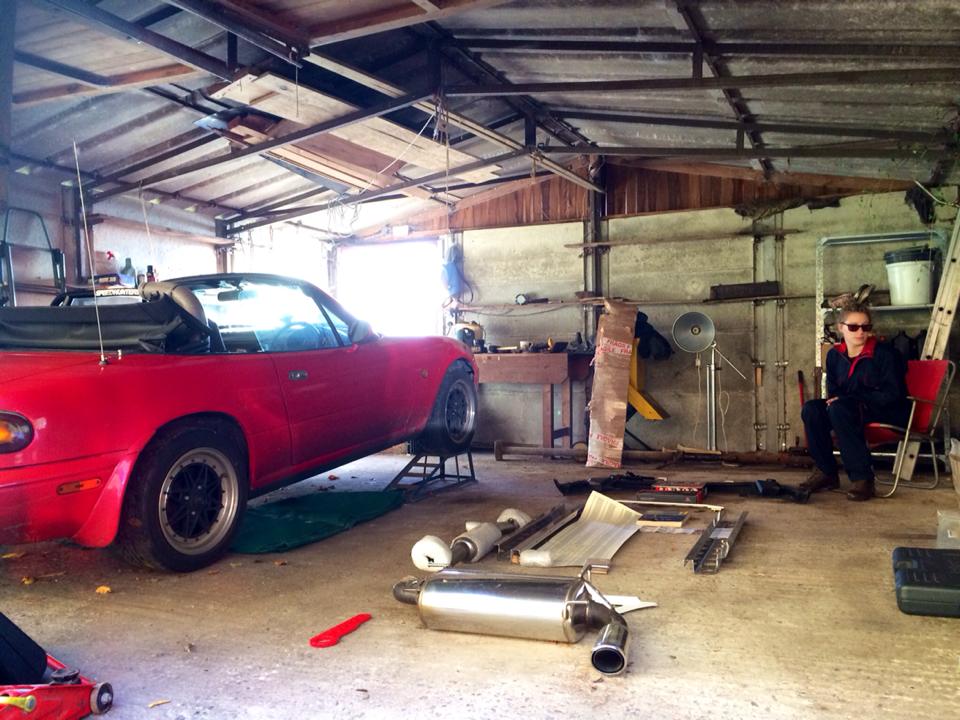
Racing Beat delivery arrived too!
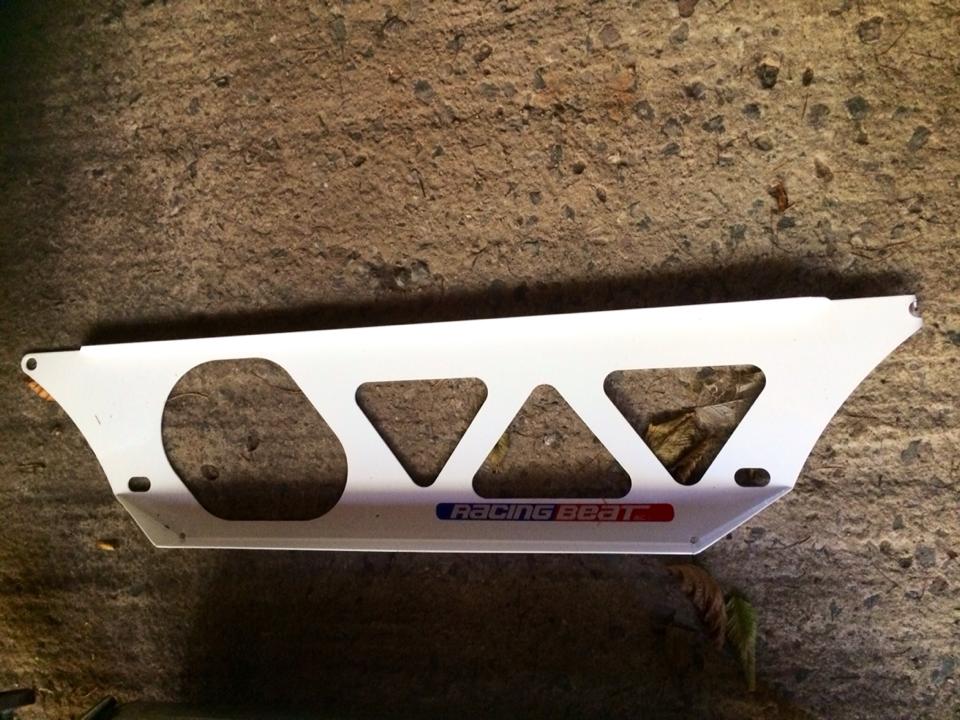
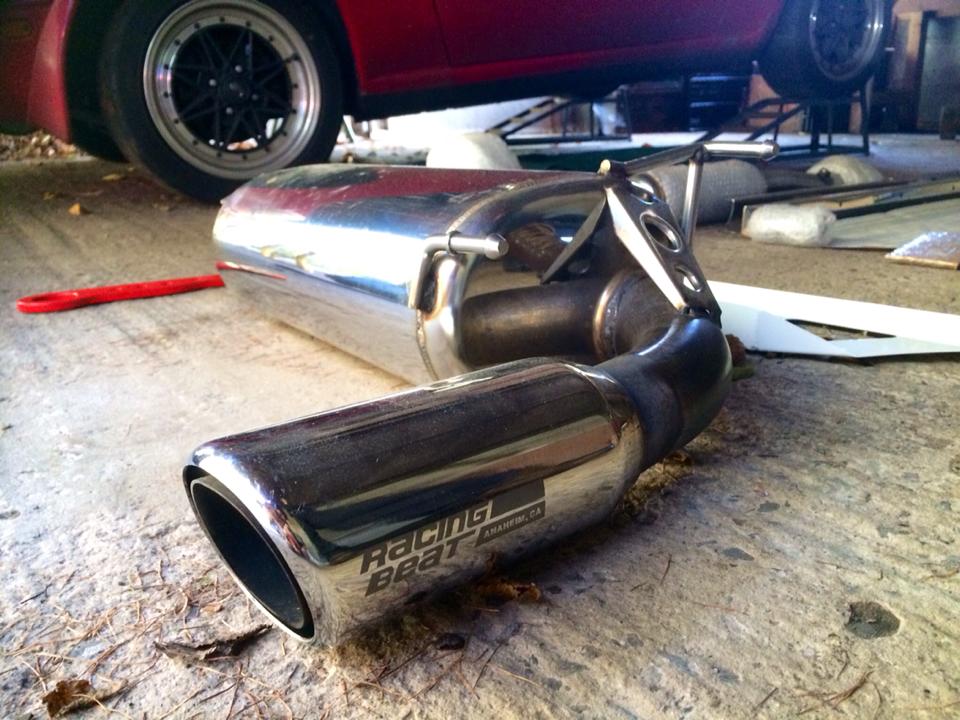
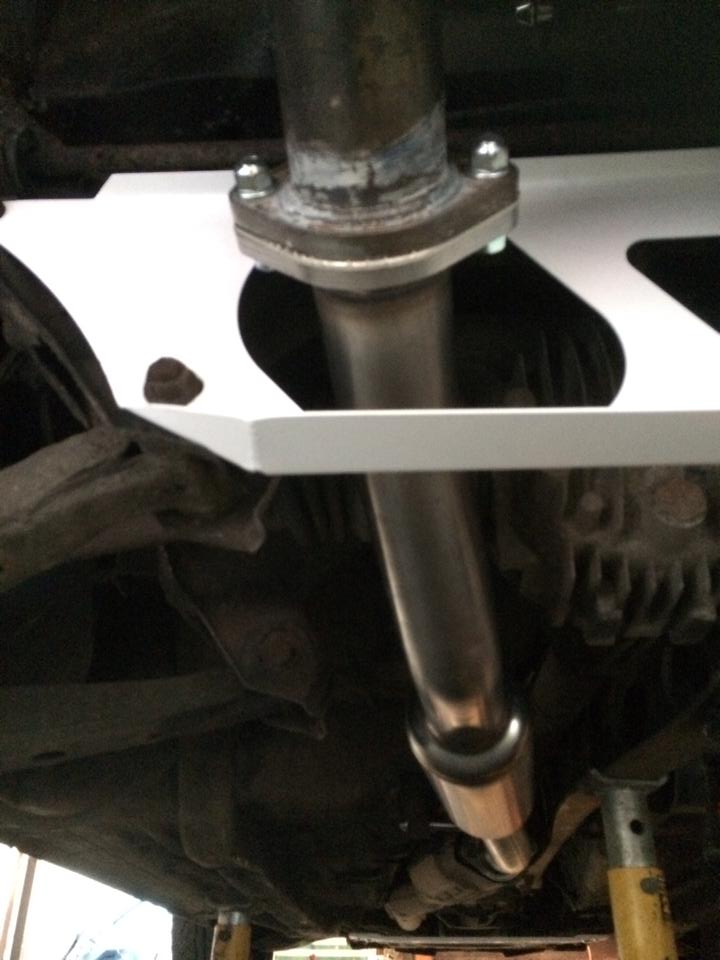
Racing Beat front subframe brace
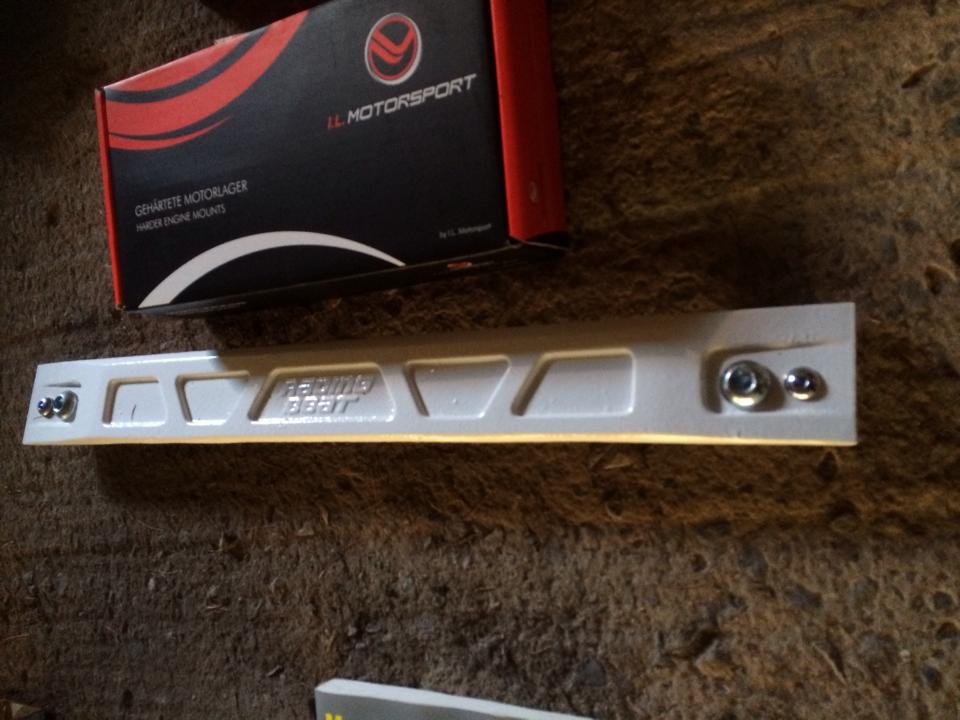
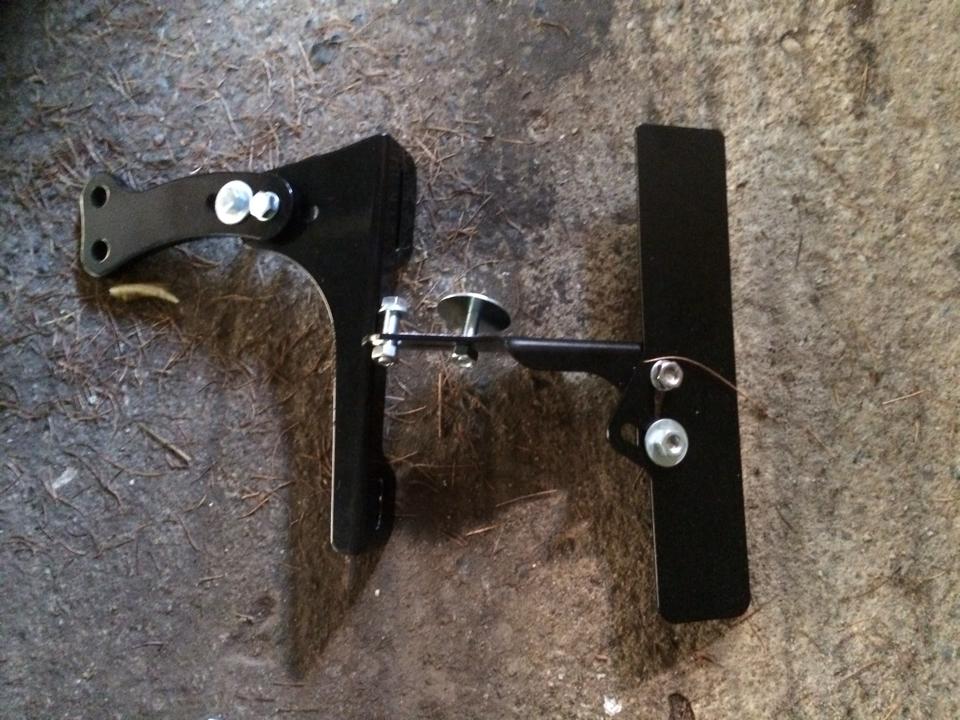
Head of Mechanics hard at work...
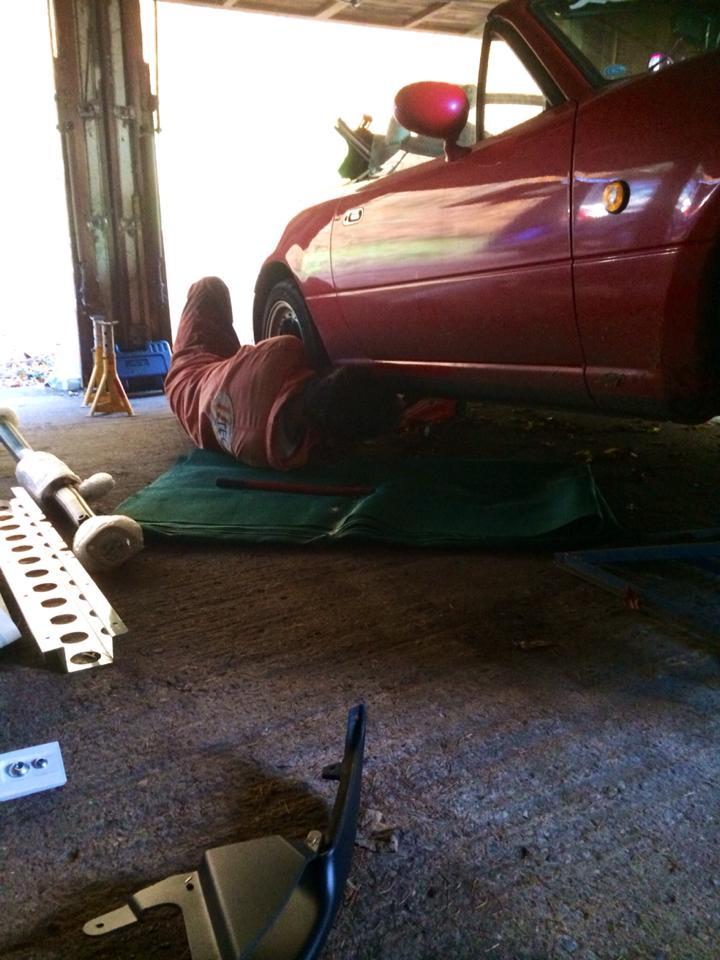
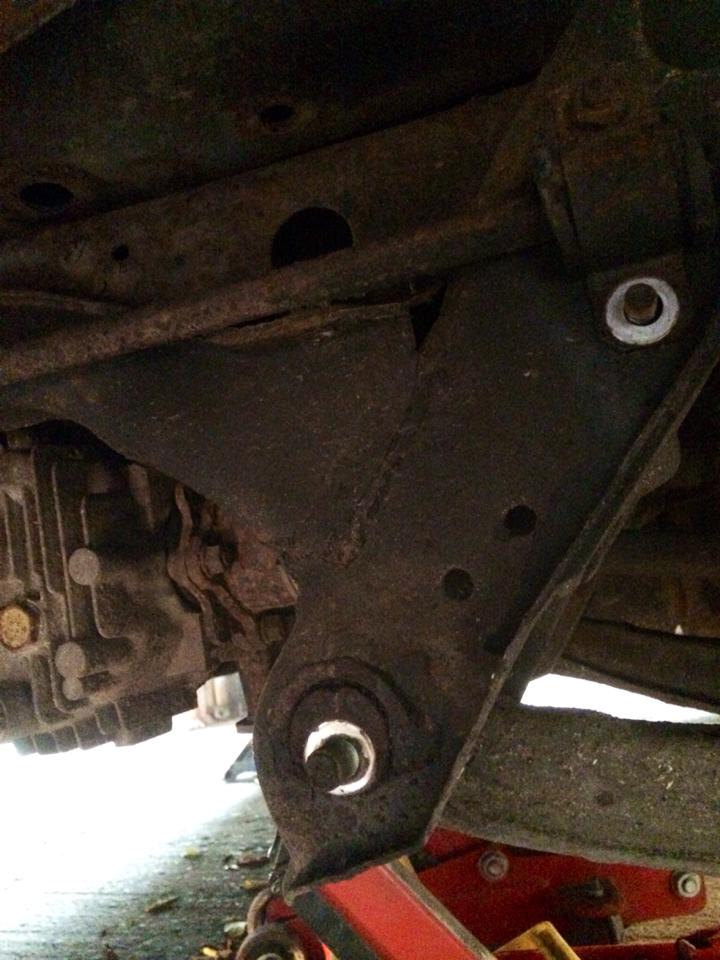
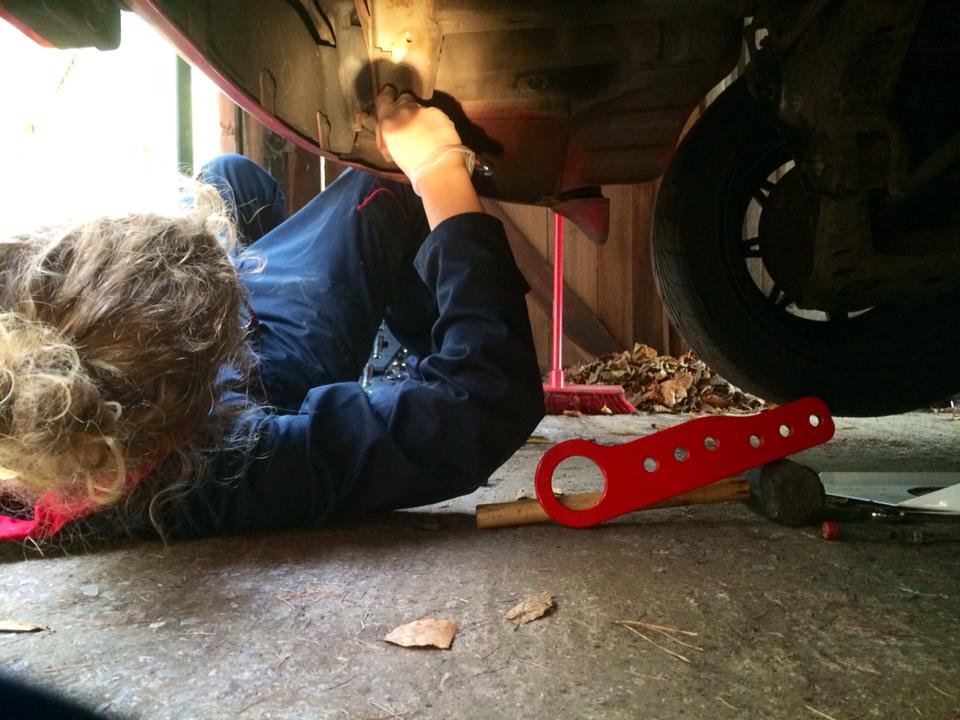
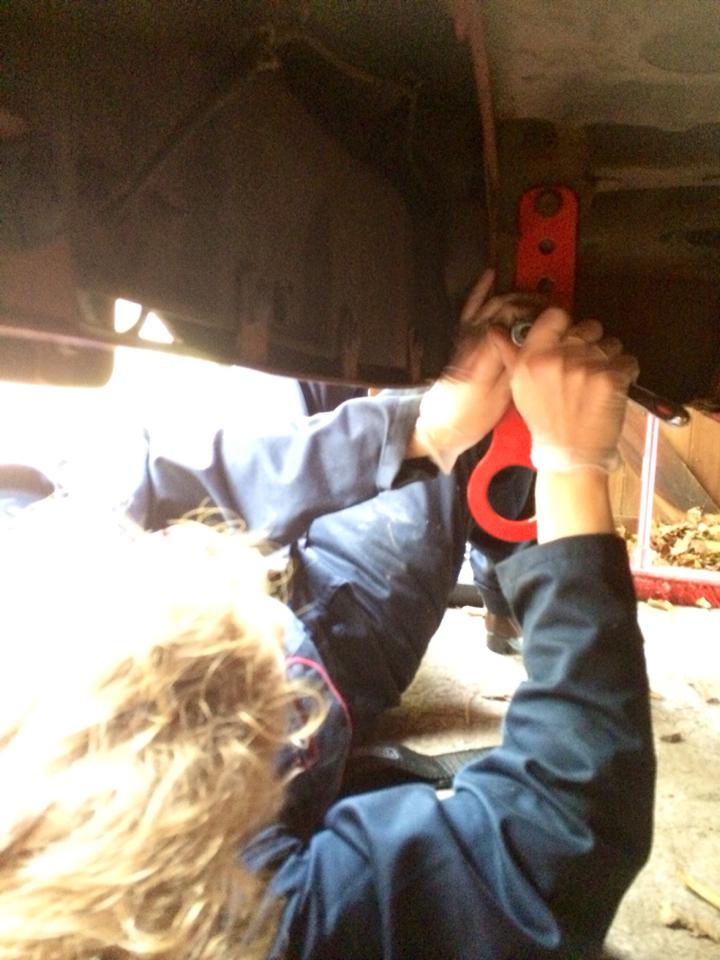
I didn't like this part... he was on some very old ramps.
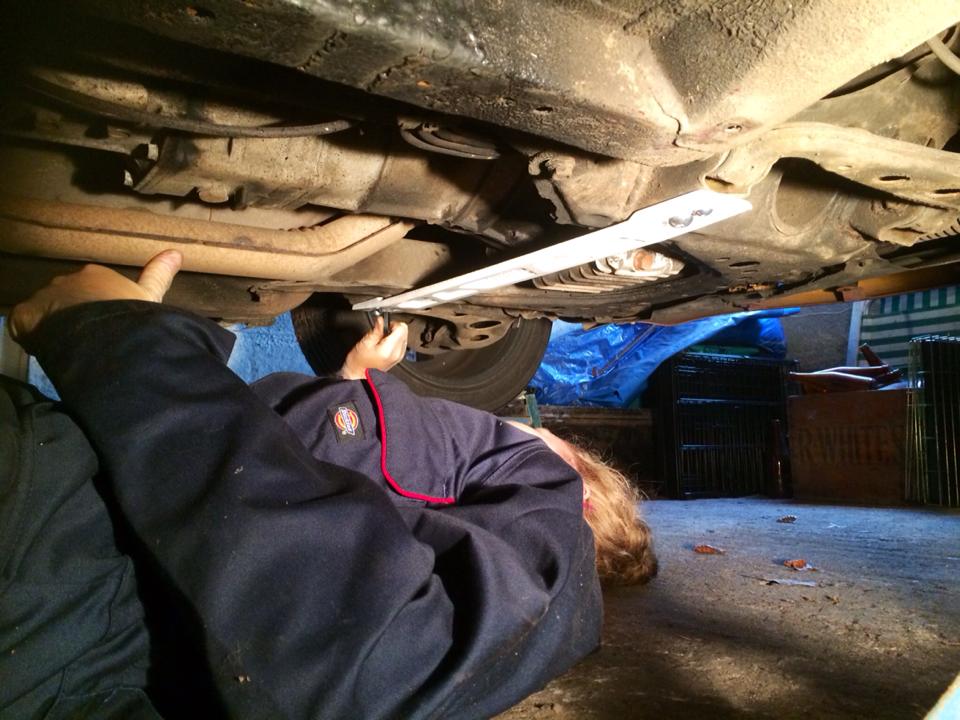
Burning the midnight oil in the Racecar Workshop
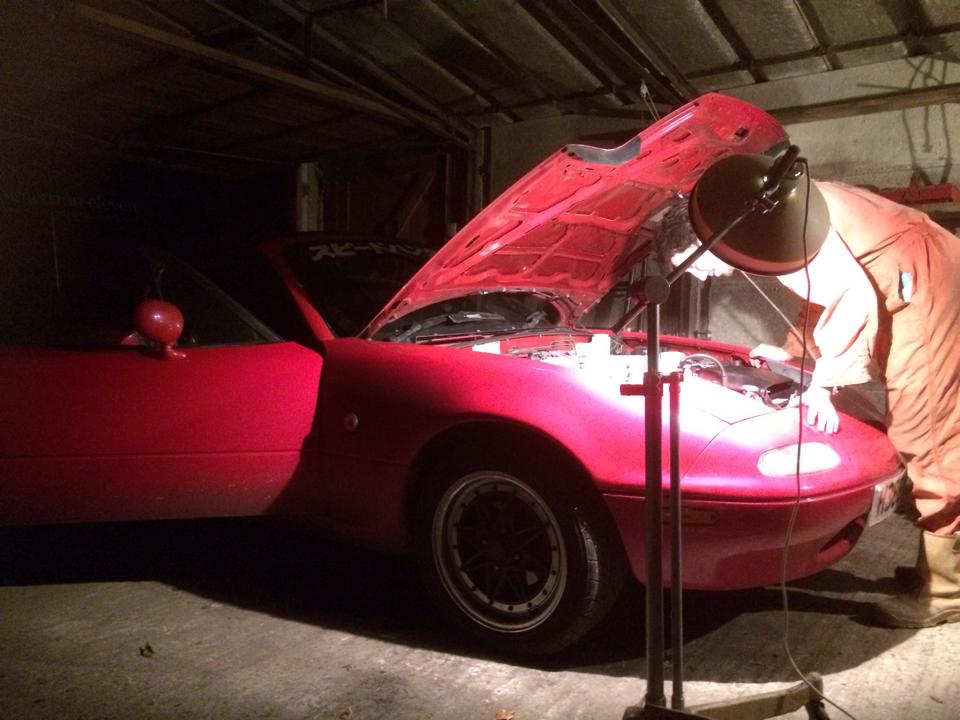
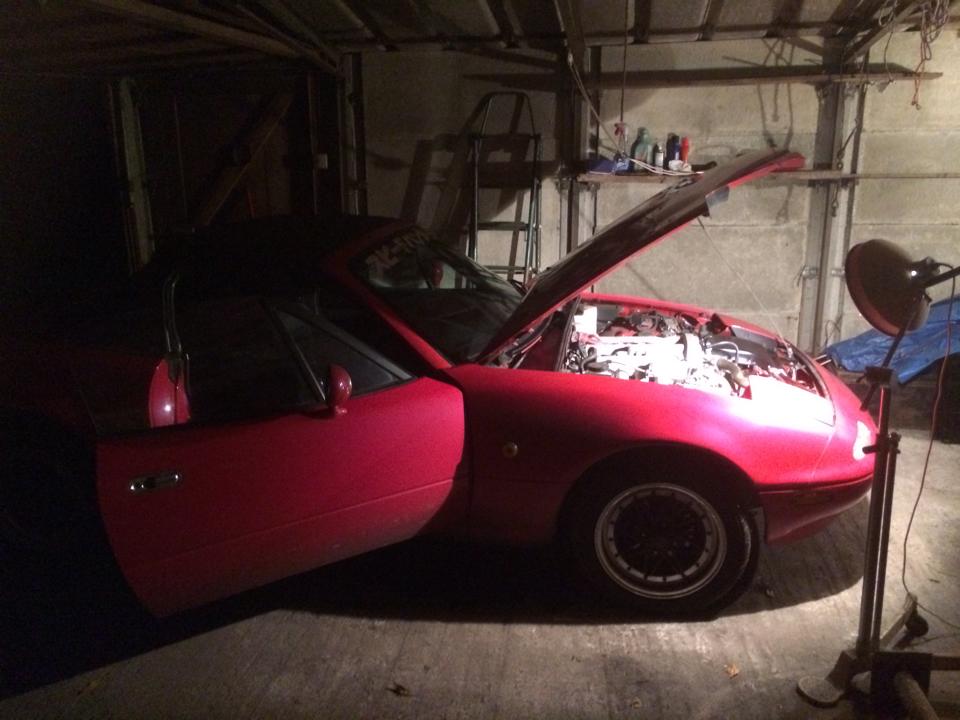
So, we fitted all we could in the time we had and set off for Southampton. Dan at The Welding Corner was hard at work doing an amazing job on the rust, and Dr MX5 thankfully mended my headlight that had melted themselves and fitted the splitter that we didn’t have time to do.
Crumbly... very crumbly
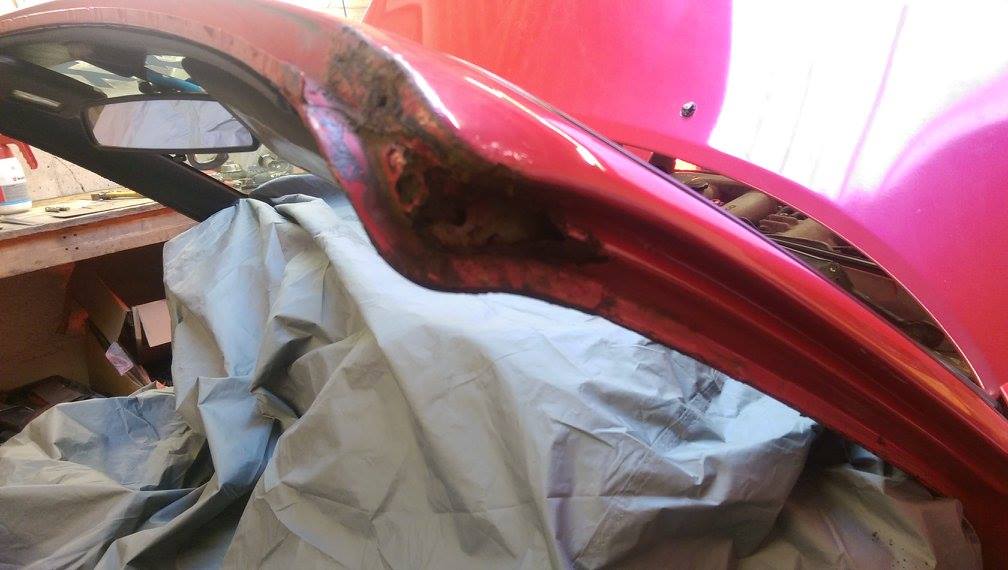
Out with the old
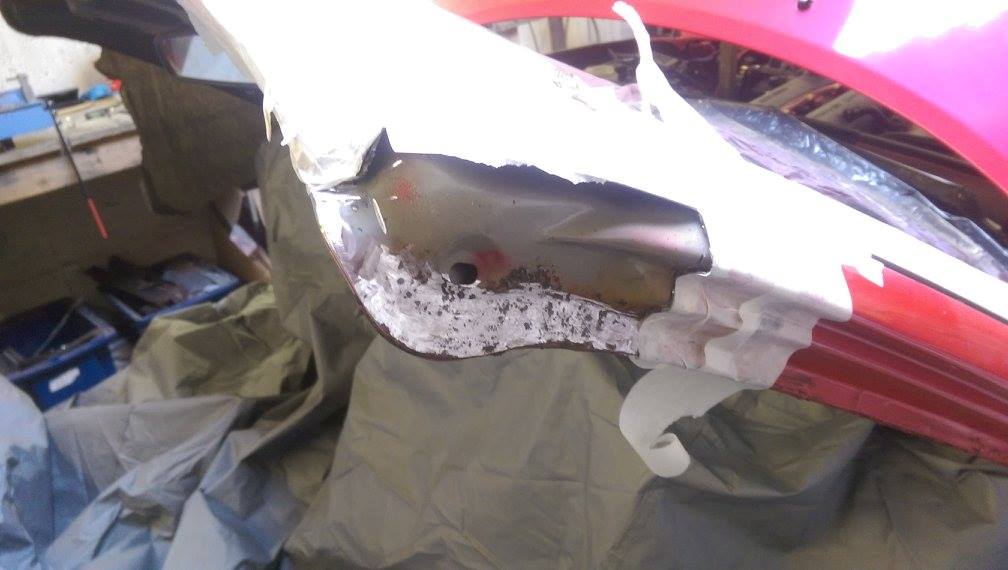
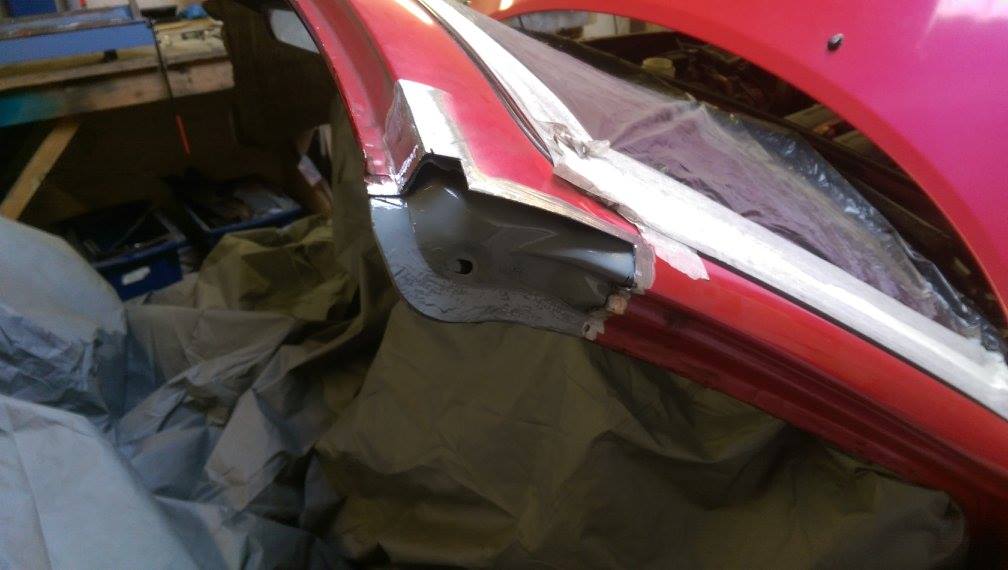
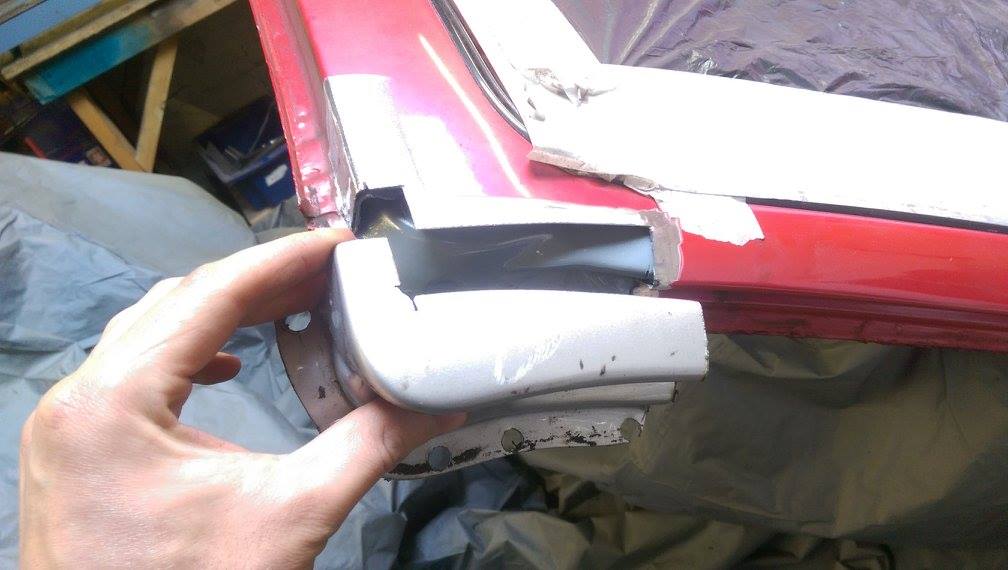
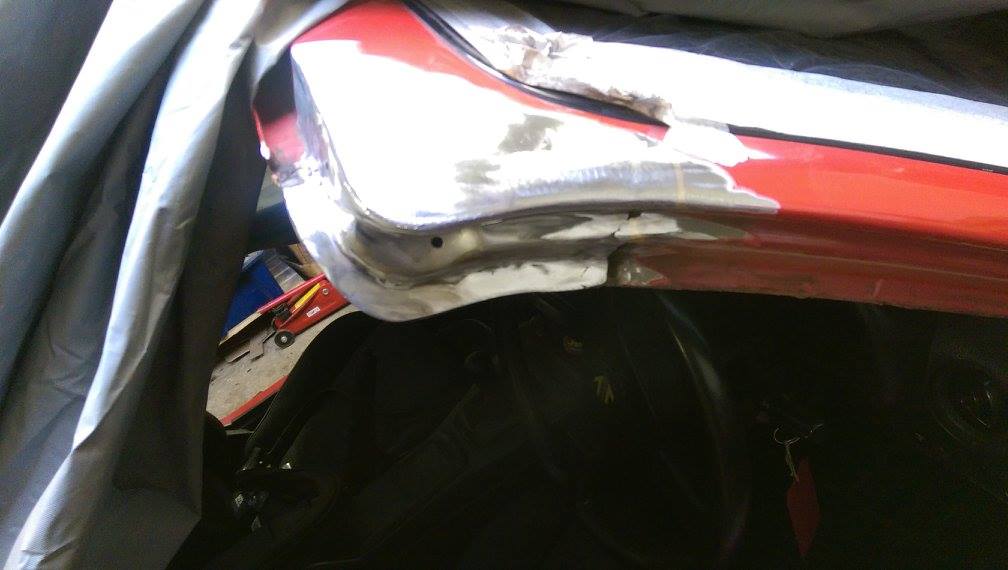
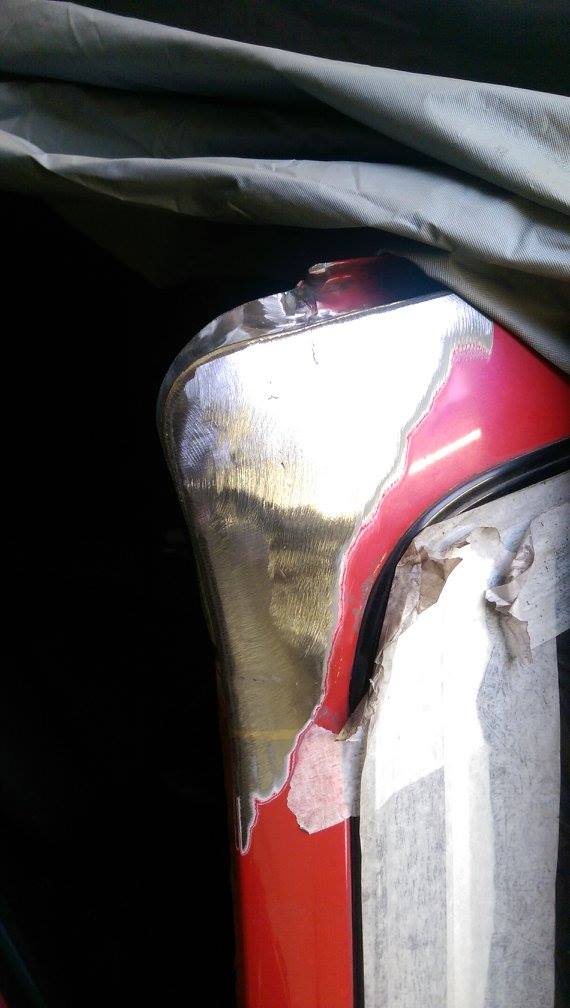
Seamless...
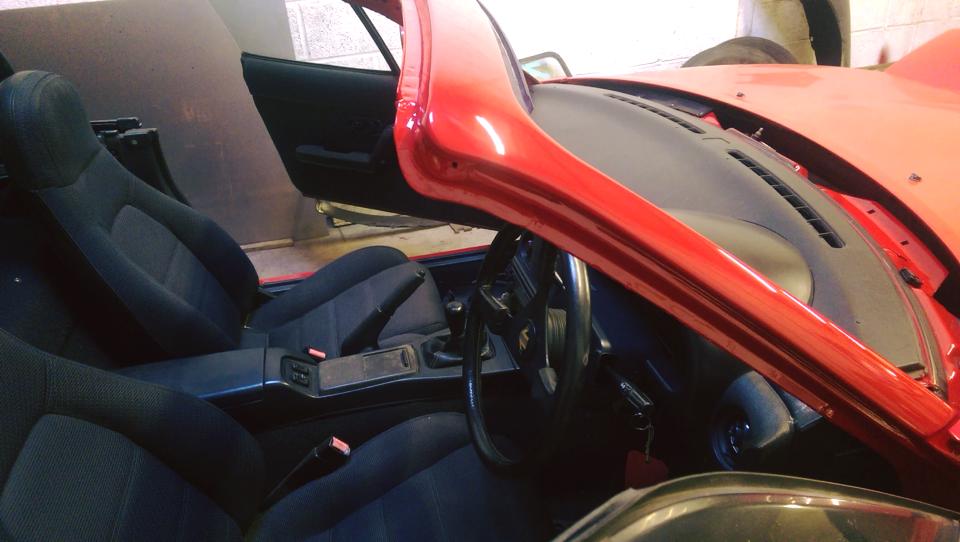
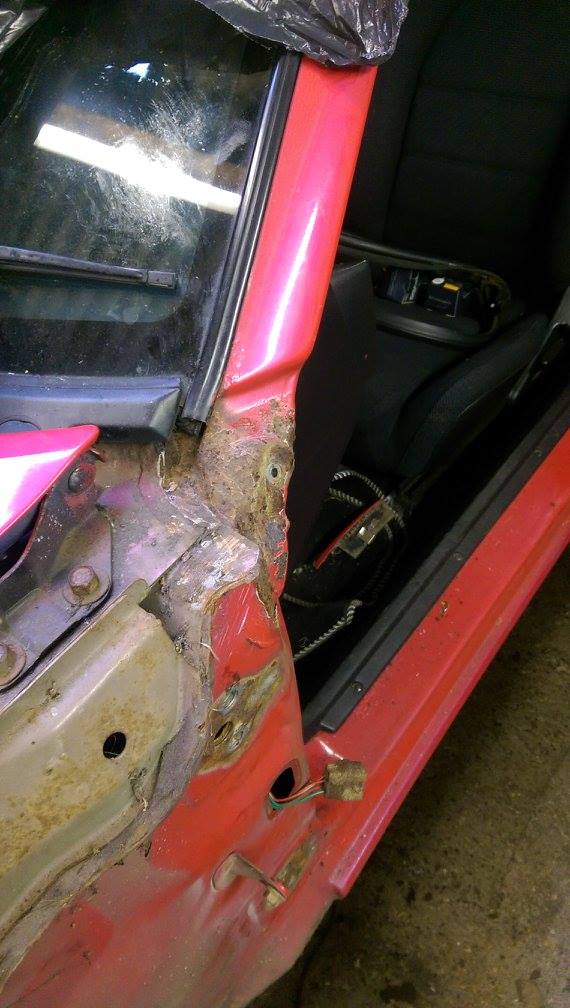
So, just a few examples of what Dan was faced with, and the absolutely stunning work he did on my Vincent.
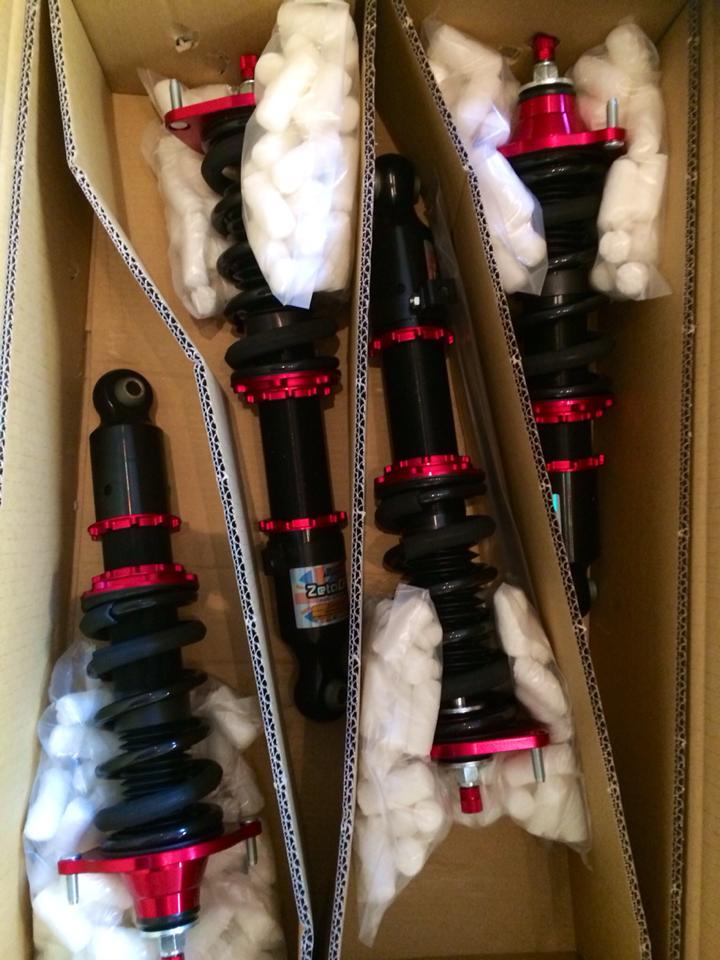
But whilst this was going on, I had another delivery:
Meister CRD coilover suspension
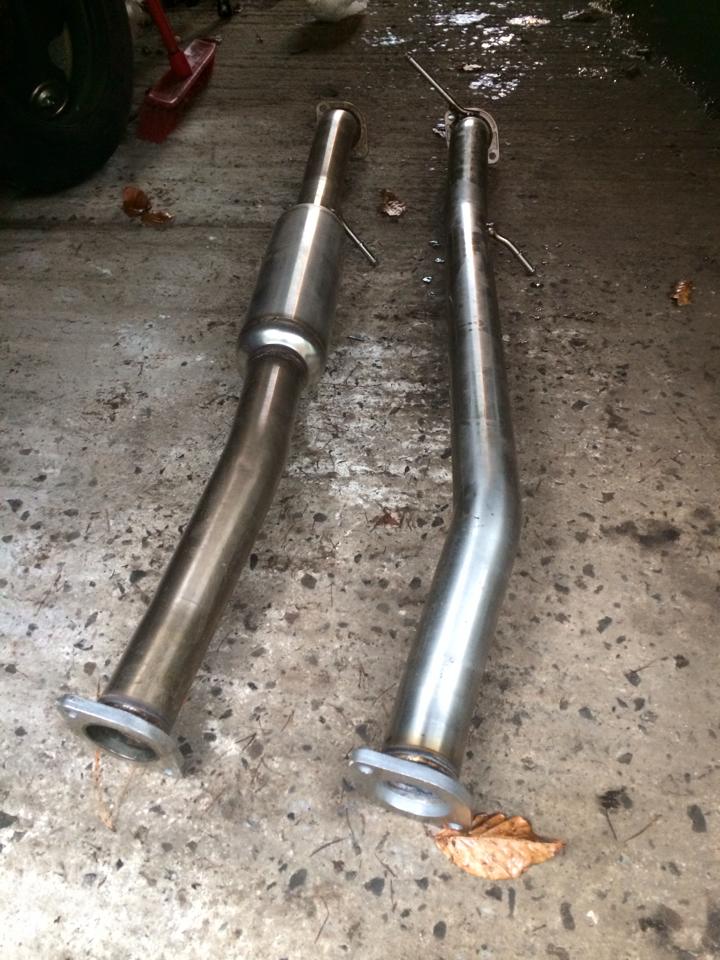
Racing Beat straight through central pipe
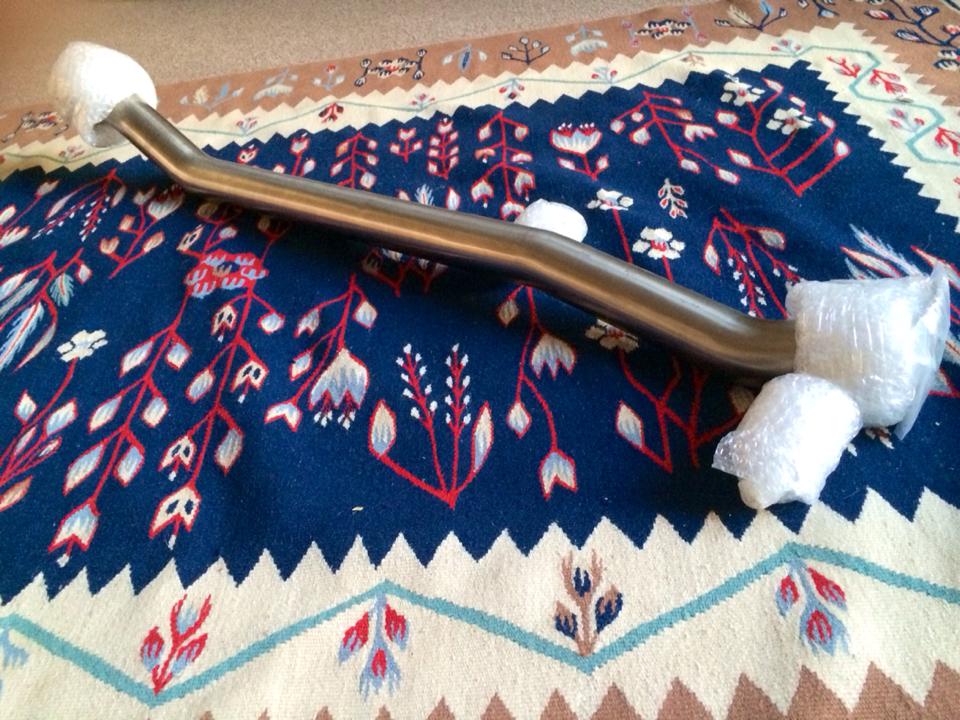
The only problem was my patience. I wanted to fit them RIGHT NOW! But, alas, we had to go and collect him from Southampton. So off we went again, loaded up with parts and tools to collect Vincent and stop off at our rural Racecar Workshop (Granny’s garage) and get fitting.
Racecar Workshop had flooded
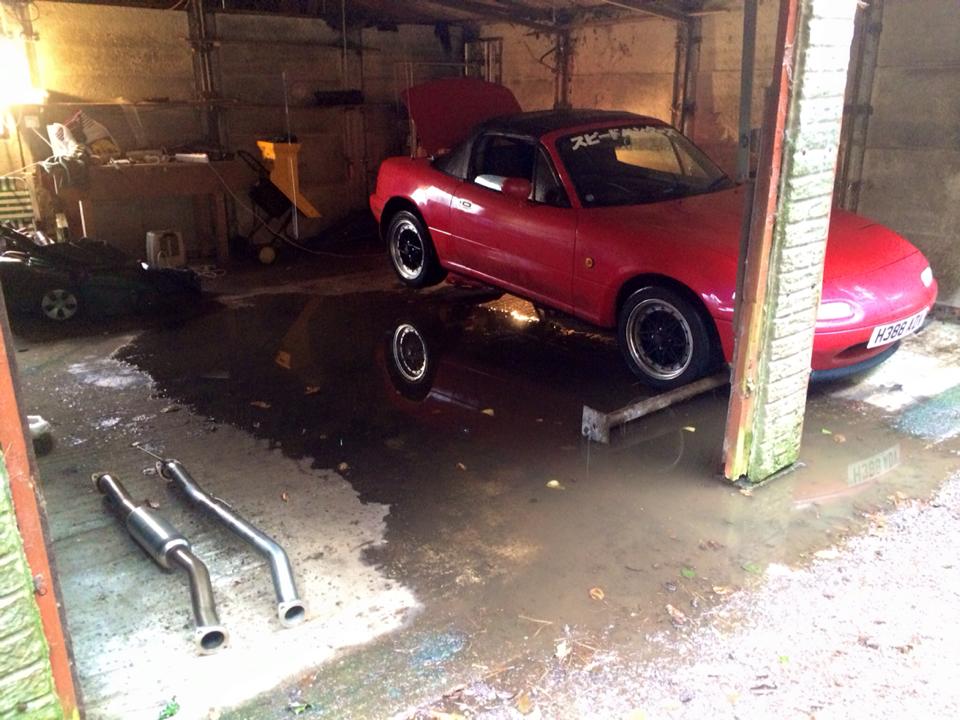
Yes...
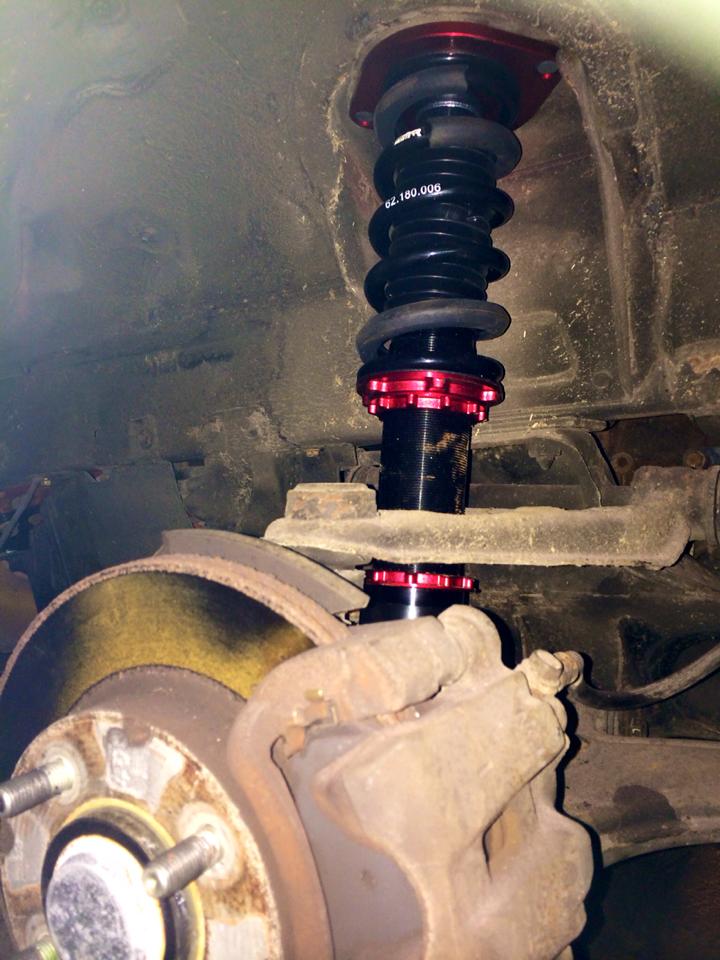
Yes and more yes!
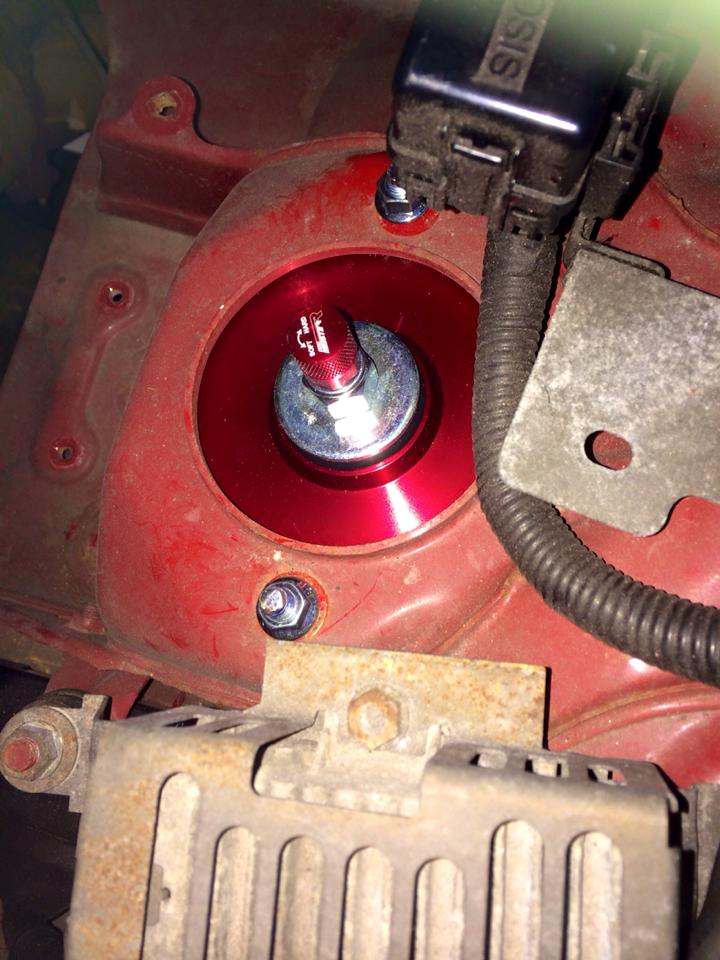
Central pipe swap over
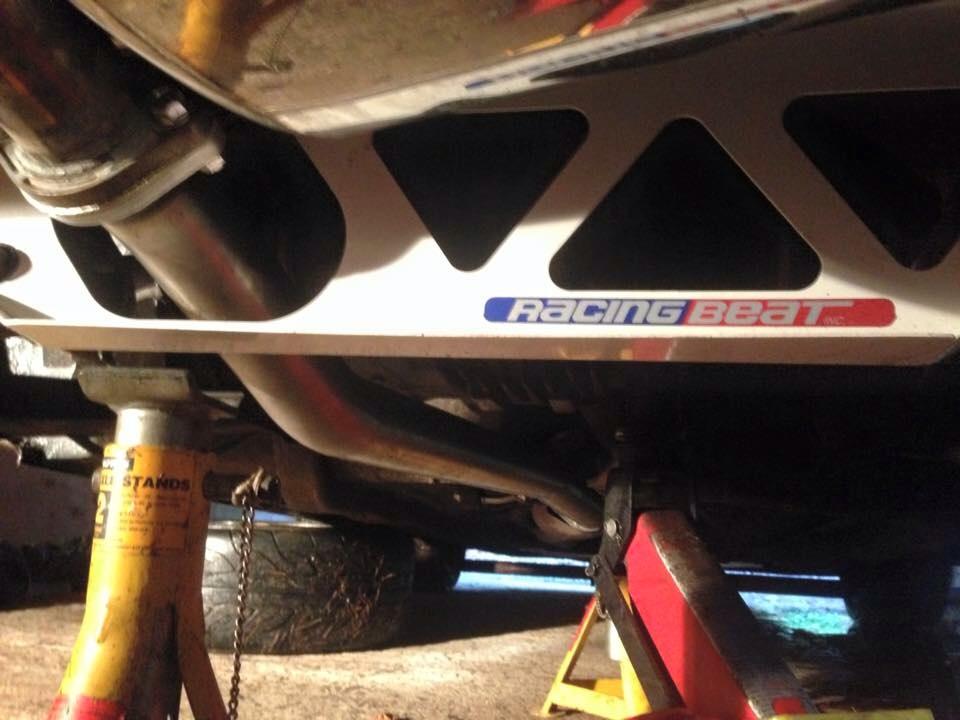
So, with him sounding like a racecar, driving like a racecar (After a full alignment done by my friends in Okehampton) full racing set up, he now needed to look like a racecar. Cue- necessary hillclimb stickerage.
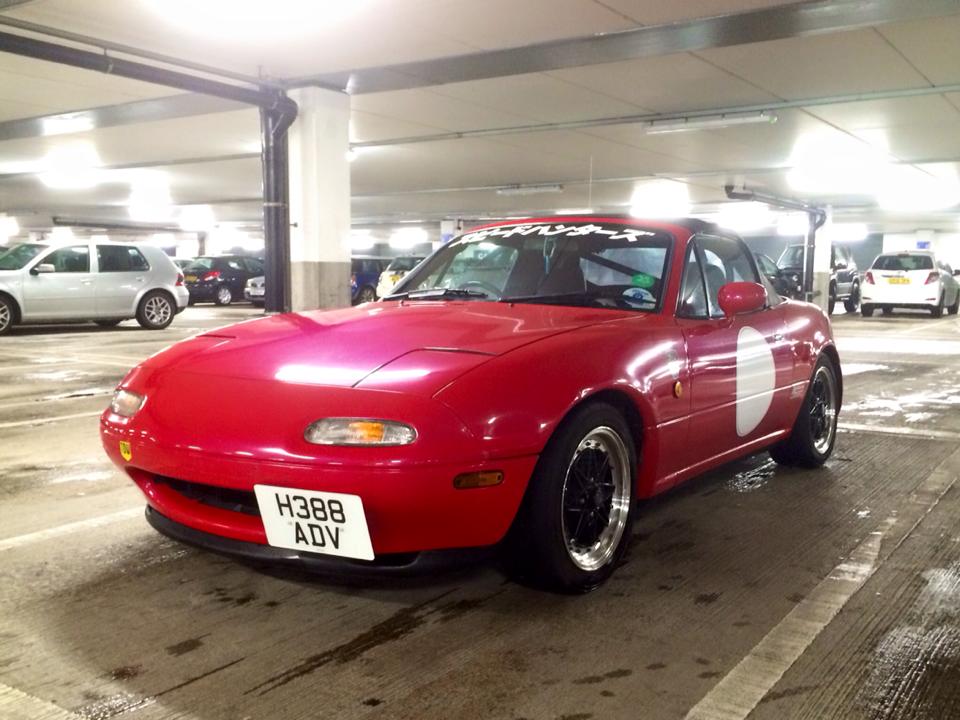
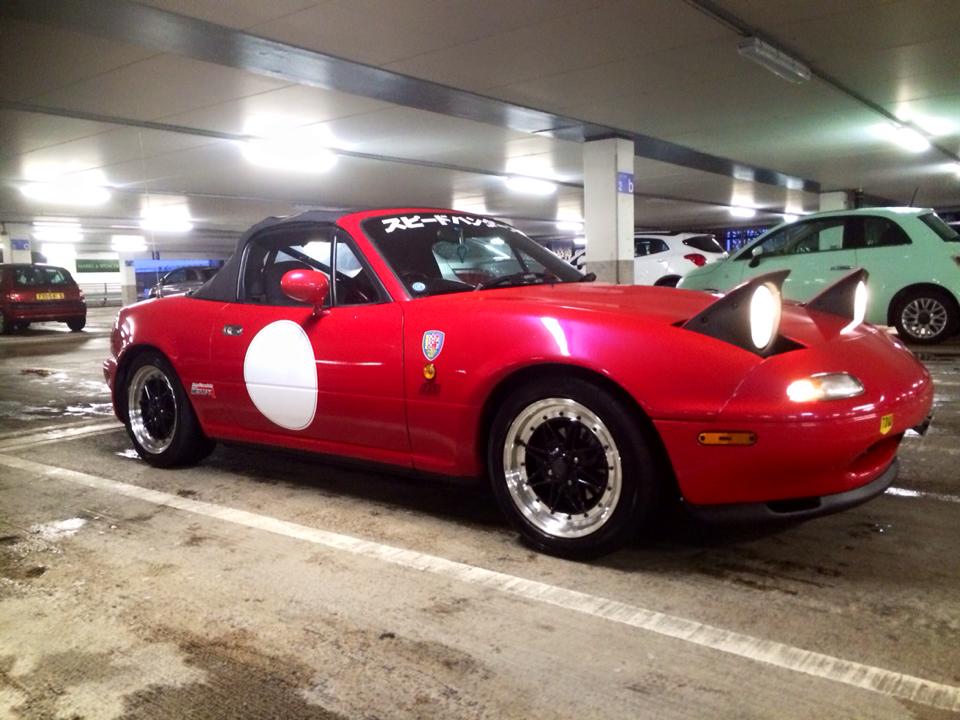
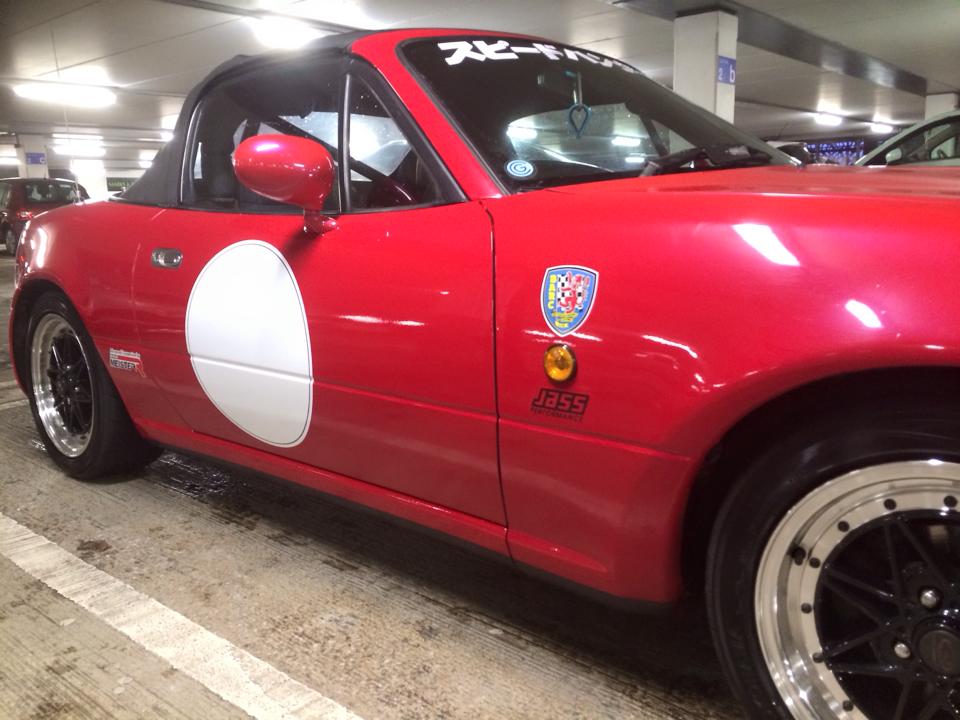
Customisation is key
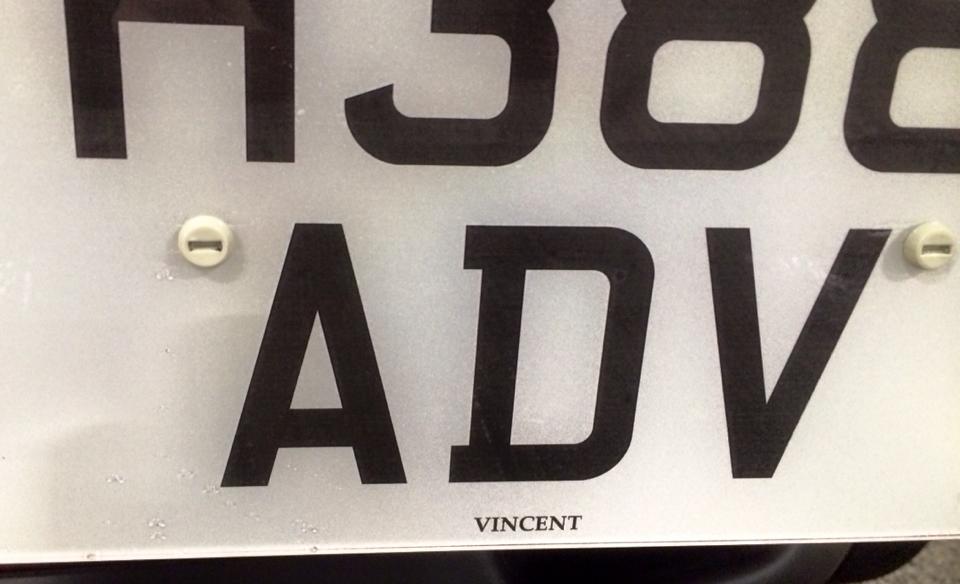
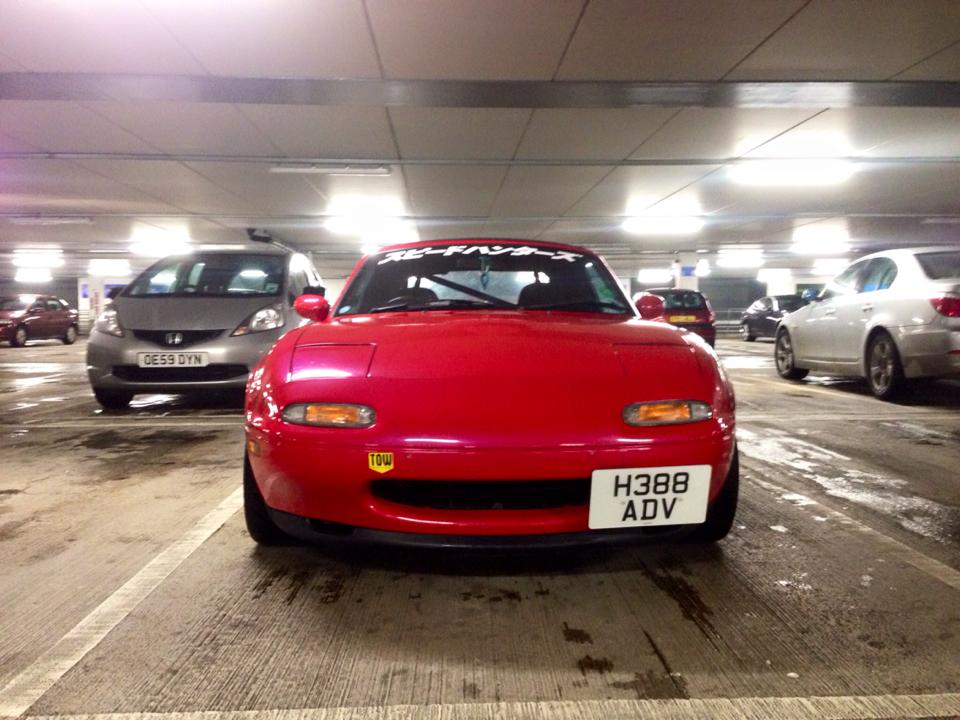
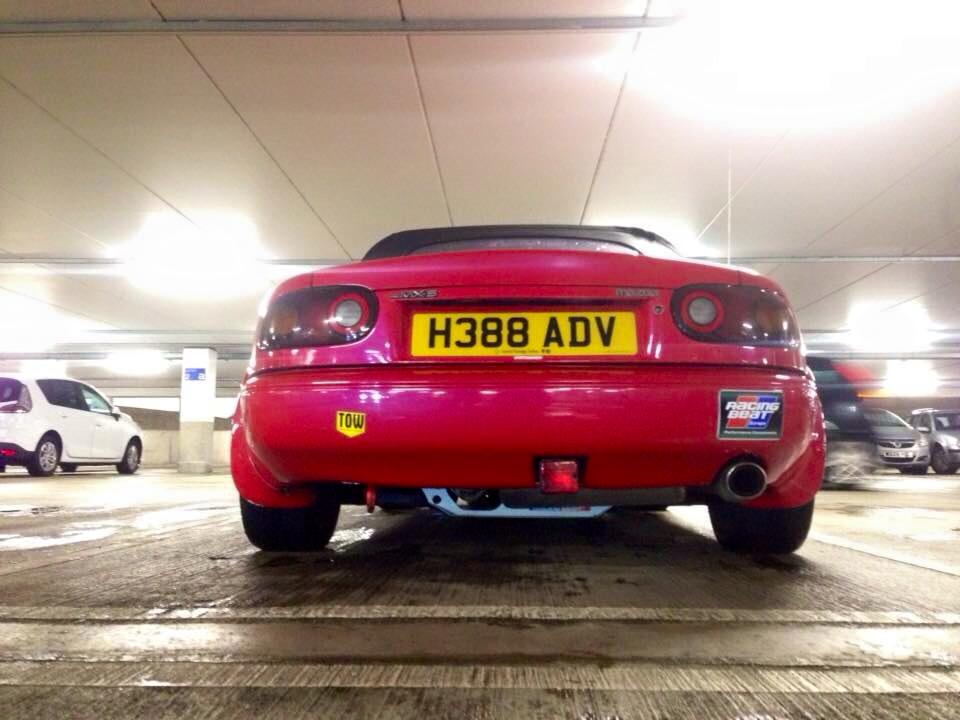
So here it is. A massive thank you to all the help from my Head Of Mechanics and Research (Alex), JASS Performance, Racing Beat Europe, Dr MX5. Dan at The Welding Corner, and my friendly mechanic in Okehampton. Here is Vincent the Hillclimb Hero. Hopefully.
All that is left to have him race ready is a seat and 6 point harness. Watch this space, and wish me luck.

Comments
This is going tongo to the best garage posts of the week! Mark my words! :)
I don’t get why you don’t see this more often! Great build. Enjoy it!
Wow this post is great! I love how your car looks at “Mmm, so shiny!”
Looks very good !
‘Now, this “takes under two hours to fit” nonsense…. Lies. This was spread out over two days. However, that was in part due to forgetting how to put the seatbelt stack back together’ Or in my case, the bolts for the seatbelt struts didn’t go back in straight, so a harness bar was fitted ;)
Great documentation. Phil’s lights have popped up!
Very well done! I can hardly wait to see more. Post a ride along video of you ever get the chance. Keep up the good work!
Oh man that’s quite the wrench time put in..nice job man
Nice car ! feels weird seeing a car with the same name as you, is there still rust on him ?
Awesome! Good luck!
One of the coolest Miata related posts that I have seen on CarThrottle, kinda like a mini Project MX5. I would love to feature your Miata on my instagram account -@MiataCrew . Thanks
Pagination